Gel Nail Essentials: Home Application Process
Introduction to Gel Nails
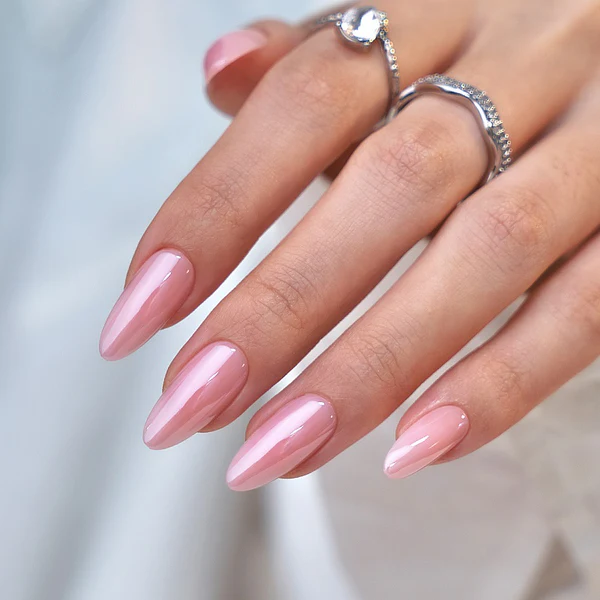
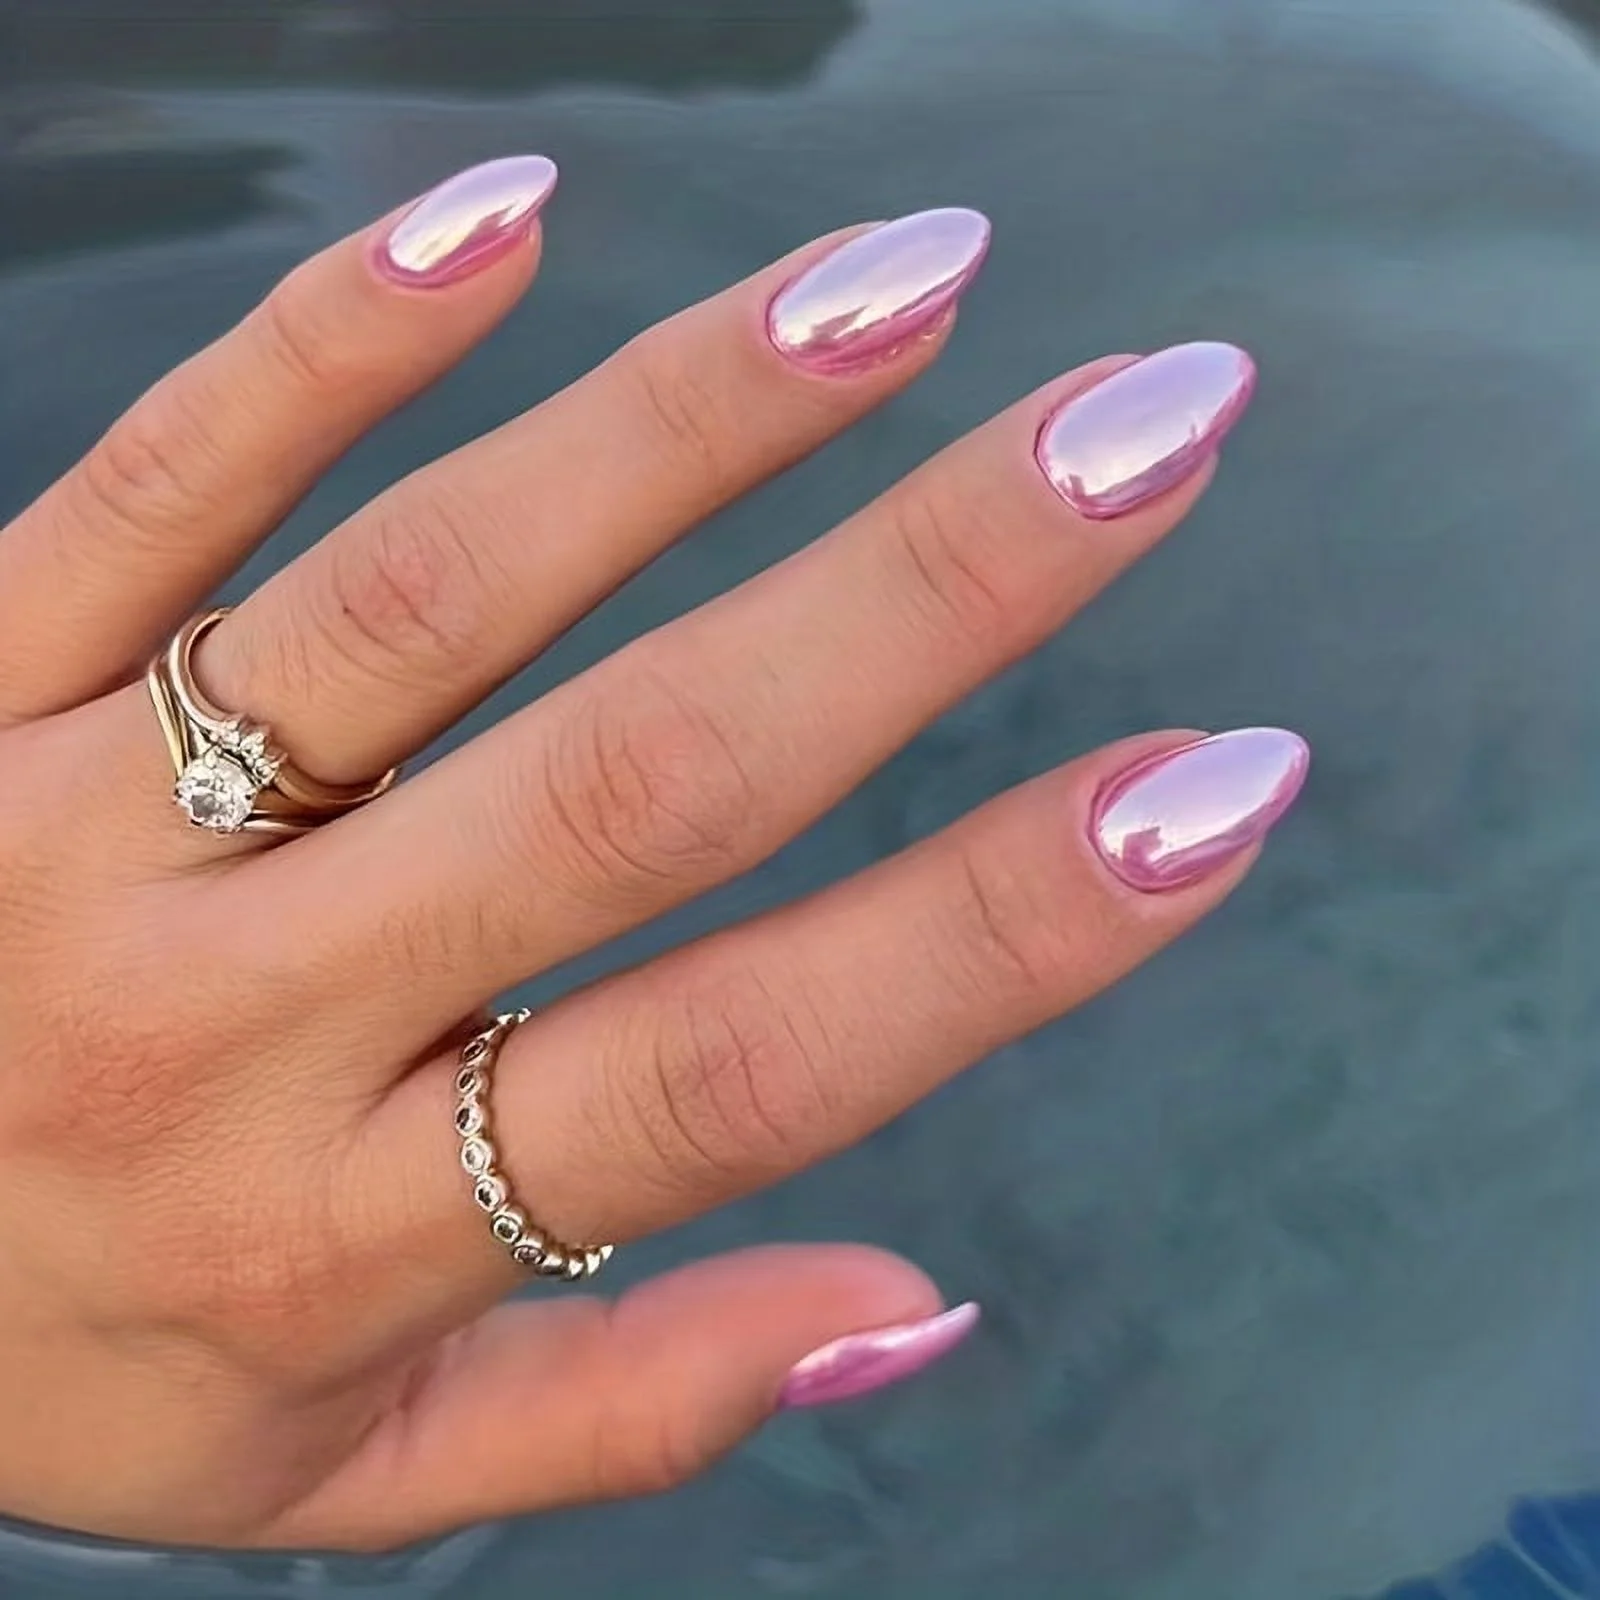
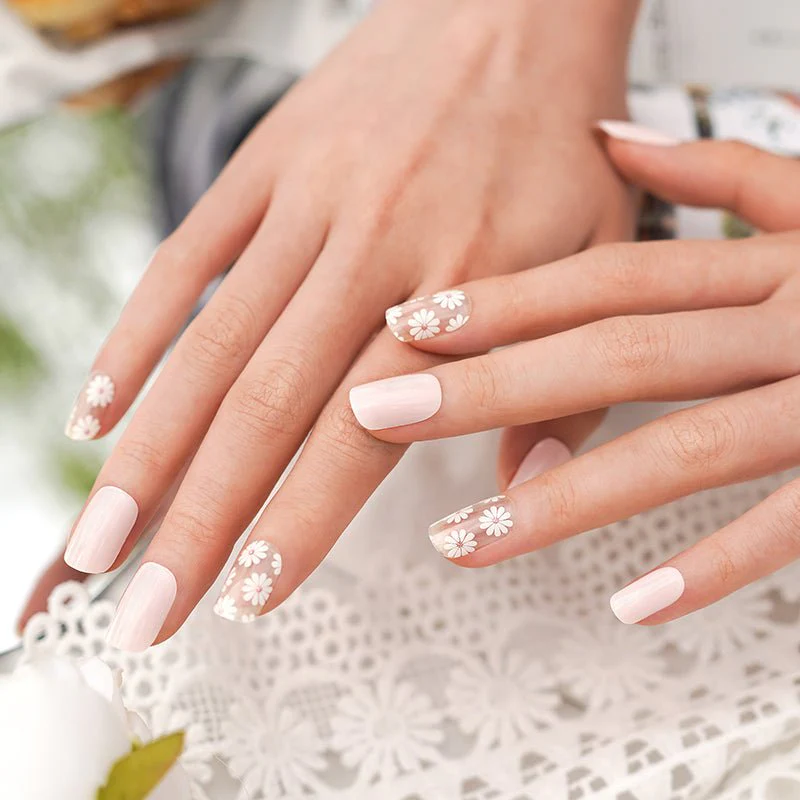
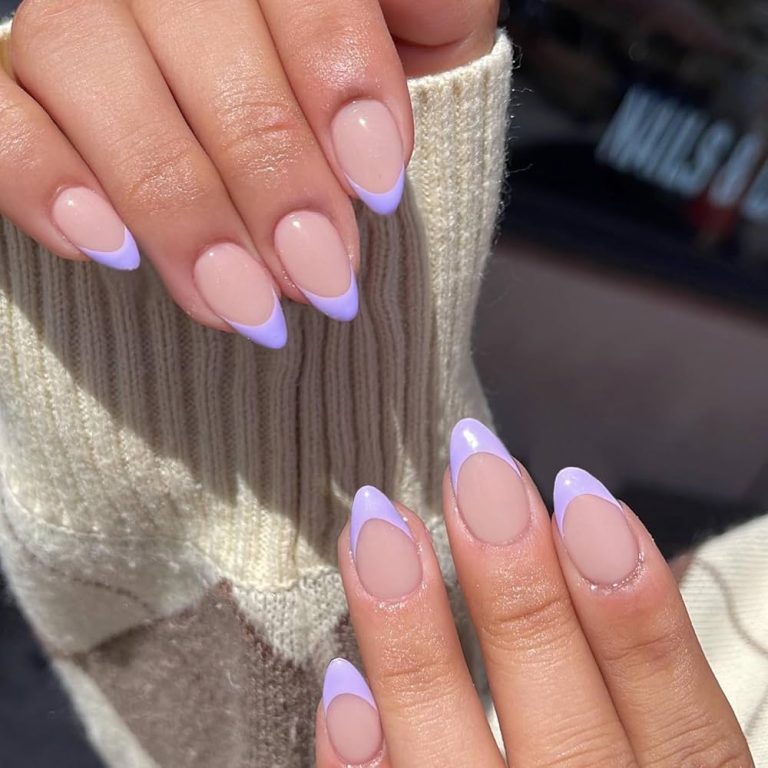
Gel nails have become a popular alternative to traditional nail polish. They’re loved for their durability, long-lasting shine, and chip-resistant qualities. Gel nails harness the power of UV or LED light to cure, or harden, the polish, creating a glossy and strong finish. Unlike regular polish, gel nails can last up to two to three weeks without fading or peeling. With the right equipment and technique, you can apply gel nails at home. This section of the blog will cover the essential tools you need and provide a detailed guide for applying and setting gel nails safely and efficiently. By the end, you’ll have a clear understanding of the overall process and maintenance tips to ensure your gel manicure stays flawless for as long as possible.
Necessary Tools and Equipment for Home Gel Application
To begin applying gel nails at home, you’ll need specific tools and equipment. This will ensure that your gel manicure is successful and looks salon-worthy. Below is a list of essentials:
- LED or UV Lamp: The cornerstone of any gel nail setup, used for curing gel polish.
- Nail File and Buffer: For shaping and smoothing the nail surface, prepping it for gel application.
- Cuticle Oil and Pusher: To nourish the skin and push back cuticles for a clean nail bed.
- Rubbing Alcohol and Cotton Pads: For removing oils and residue, creating an ideal surface for polish.
- UV Protection Gloves: To protect your hands from UV exposure during the curing process.
- Gel Base and Top Coat: Foundations for durability, enhancing polish adherence and shine.
- Quality Gel Polish: Key for vibrant color and long-lasting wear; select a reputable brand.
Invest in a good quality gel manicure kit. It usually contains most of the necessary items. By having all the right tools at your disposal, you are set to give yourself a durable and beautiful gel manicure at home.

Step-by-Step Guide to Applying Gel Nails at Home
Applying gel nails at home is straightforward and rewarding. Follow these steps to create a salon-quality gel manicure from the comfort of your home.
Step 1: Prepare Your Nails
Start by cleaning your nails with rubbing alcohol and cotton pads. This removes oils and debris, ensuring better polish adhesion. Shape your nails with a file, and gently push back the cuticles using a cuticle pusher. Remember, smooth and clean nail beds are crucial.
Step 2: Apply the Base Coat
Apply a thin layer of gel base coat to each nail, making sure it’s even and smooth. Cure the base coat under a LED or UV lamp as per your lamp’s instructions (usually around 30-45 seconds).
Step 3: Apply the Gel Polish
Choose your desired gel polish color. Apply the first thin layer. Be careful not to get polish on your skin. Cure it under the lamp for the recommended time for your specific lamp. Repeat for a second coat if desired depth is not achieved.
Step 4: Seal with Top Coat
Once your color layers are set and cured, apply a gel top coat. This seals in color and adds a glossy, protective finish. Cure under the lamp as per the device’s guidelines.
Step 5: Clean and Moisturize
After curing, use a lint-free pad with rubbing alcohol to wipe away any sticky residue gently. Then, apply cuticle oil to nourish the skin around the nails.
With these steps, you’ll have beautiful, durable gel nails done by yourself!

How to Safely Cure Gel Nails with LED or UV Lamps
Curing gel nails properly is key to a long-lasting manicure. LED and UV lamps play a crucial role in this process, but safety should always be your top priority. Here’s how you can cure your gel nails safely and effectively:
Choose the Right Lamp
LED lamps cure faster and use less energy than UV lamps. They are also considered safer due to lower UV exposure. On the other hand, UV lamps are more common and can be cheaper, but they take longer to cure gel nails and pose a higher risk for UV exposure.
Timings Are Essential
For LED lamps, usually, it takes about 30-60 seconds to cure each layer of gel polish. UV lamps may require 2-3 minutes per coat. Always follow the manufacturer’s instructions for the best results. Overcuring can damage your gel polish and undercuring can lead to weak manicures.
Use UV Protection
Protect your hands from UV rays. UV gloves or sunscreen applied to your hands can help shield your skin. Make sure your gloves expose only your fingernails or apply sunscreen on all exposed skin.
Avoid Direct Eye Contact
Never look directly at the light as both LED and UV rays can harm your eyes. Use the lamps as directed and keep them at a safe distance from your face.
Take Care of Your Equipment
Keep your lamps clean and in good working order. Dirty or damaged lamps can affect curing times and potentially your health.
By following these safety tips, you can enjoy a beautiful, long-lasting gel manicure with peace of mind. Remember that proper use of your curing lamp is as important as the application of the gel polish itself.
Maintaining Your Gel Manicure for Long-Lasting Results
Maintaining a gel manicure involves care and attention. Make sure to follow these key practices for long-lasting results:
- Protect From Water and Heat: Excessive water exposure and heat can weaken gel polish. Wear gloves while cleaning and avoid hot water.
- Use Cuticle Oil Regularly: Keep nail beds and cuticles hydrated. Apply oil daily to nourish and protect nails.
- Be Gentle With Nails: Avoid using nails as tools. This prevents chips and lifting of gel polish.
- Touch-Up If Needed: If an edge lifts or chips, apply a small amount of polish and cure again. Do not peel any lifted polish.
- Wear Gloves for Chores: Do chores with gloves on. Protect nails from harsh cleaners and impacts.
- Refrain From Biting: Nail biting can damage both nails and gel polish. Resist the urge to bite.
By taking these steps, you can extend the life and beauty of your gel manicure. Regular maintenance ensures nails stay looking fresh and stylish.

Tips for Choosing the Right Gel Polish Brand
When looking for a gel polish brand, consider several factors to ensure you get the best results. Here are some tips to help you choose the right one for your at-home gel manicure:
- Look for Quality: Check for gel polishes that offer a rich pigment and a high-gloss finish. Brands that provide professional-grade quality tend to result in a better manicure.
- Range of Colors: A wide selection of color options allows for more creativity and versatility in your manicure designs. Look for brands that offer a diverse palette.
- Longevity: Choose polishes known for their chip-resistant properties and those that can last at least two weeks without losing their shine or peeling off.
- Ease of Application: Opt for brands that come with brushes that are easy to use and provide smooth application.
- Cure Time: Some brands work better with certain lamps. Check if the polish is compatible with your LED or UV lamp and what curing times are recommended.
- Safety and Ingredients: Ensure the polish does not contain harmful chemicals. Look for non-toxic, vegan-friendly, and cruelty-free options.
- Removal Process: The removal process should be straightforward. Brands that can be soaked off easily without damaging the nail are preferable.
- Cost: Consider your budget. While some brands may seem expensive, they can be more cost-effective in the long run due to their durability and quality.
- Reviews and Recommendations: Read customer reviews and ask for recommendations from friends or beauty professionals. Personal experiences can guide you to reliable brands.
By thoroughly researching and considering these factors, you’ll be more likely to find a gel polish brand that suits your needs and ensures a salon-quality finish for your at-home gel nails.
The Cost-Benefit Analysis of Home Gel Manicures
When considering doing gel nails at home, cost and benefits weigh heavily. Let’s break it down:
Initial Investment: While starting may seem pricey due to the need for specific tools and equipment, it’s a one-time cost. You’ll need an LED or UV lamp, nail file, buffer, cuticle oil, alcohol pads, and gel polish.
Cost of Materials: Purchasing a quality gel manicure kit can range from $30 to $150. Despite the upfront cost, it contains most essentials and leads to savings over time.
Salon Savings: A salon visit for gel nails typically costs between $35 to $60 per session. By applying at home, you’re cutting out this recurring expense.
DIY Frequency: The more often you do gel nails at home, the quicker you recoup your initial investment by avoiding salon prices.
Time Savings: Apart from money, DIY gel manis save time. No appointments or commutes – you do it whenever suits you.
Creative Control: Doing it yourself means you choose the colors and designs freely, no limits.
By weighing these factors, we see that at-home gel manicures offer considerable savings and advantages. They might have an upfront cost, but in the long run, they are cost-effective, convenient, and allow for personalized creativity.

Step-by-Step Guide to Removing Gel Nails at Home
Removing gel nails at home is straightforward and cost-effective. Follow these steps to ensure a smooth and safe process.
Step 1: Gather Your Materials
Prepare the following items: pure acetone, cotton balls or pads, aluminum foil, a nail file, an orange stick or cuticle pusher, a nail buffer, and, optionally, cuticle oil.
Step 2: Buff the Nail Surface
Use a nail file to gently buff the shiny top coat off your gel nails. This breaks the seal and helps the acetone penetrate.
Step 3: Apply Acetone
Soak a cotton ball or pad in acetone. Place it directly on the gel nail. Wrap each nail tightly with a piece of aluminum foil.
Step 4: Wait
Leave the acetone-soaked cotton on your nails for 15-20 minutes. This time allows the gel polish to break down.
Step 5: Remove Gel Polish
Take off the aluminum foil and cotton. Use an orange stick or cuticle pusher to gently scrape away the gel polish. If some polish remains, reapply the acetone-soaked cotton for a few more minutes.
Step 6: Buff and Moisturize
After all the gel polish is removed, use a nail buffer to smooth the nail surface. Apply cuticle oil to hydrate and nourish your nails and cuticles.
By following these steps, you can successfully remove gel nails at home without damaging your natural nails.
Safety Precautions for DIY Gel Nails Application
When applying gel nails at home, safety is paramount. Here’s a list of vital precautions to ensure a safe DIY manicure:
Work in a Ventilated Space
Gel nail products can release fumes. Always work in a well-ventilated area to avoid inhaling harmful chemicals.
Use UV Gloves or Sunscreen
Protect your skin from UV rays emitted by curing lamps. Wear UV protection gloves or apply sunscreen to exposed skin.
Avoid Eye Contact
Avoid looking directly at the UV or LED light to protect your eyes.
Keep Your Equipment Clean
Clean your tools regularly. Use alcohol or soap to sanitize cuticle pushers and nail files.
Be Gentle When Filing
Over-filing can weaken your nails. Use a gentle touch to avoid damage.
Follow Manufacturer Instructions
Use your gel polish and curing lamp according to the manufacturer’s guidelines. This ensures correct application and curing times.
Choose High-Quality Polish
Select reputable gel polish brands. High-quality products result in safer and more reliable manicures.
By following these safety precautions, you can enjoy beautiful gel nails while keeping your natural nails and skin healthy.

