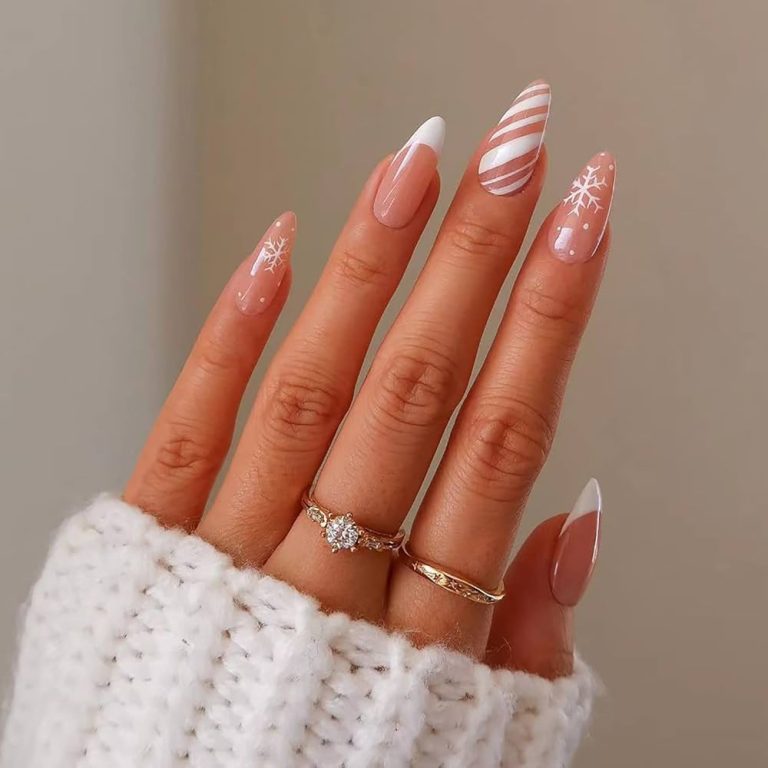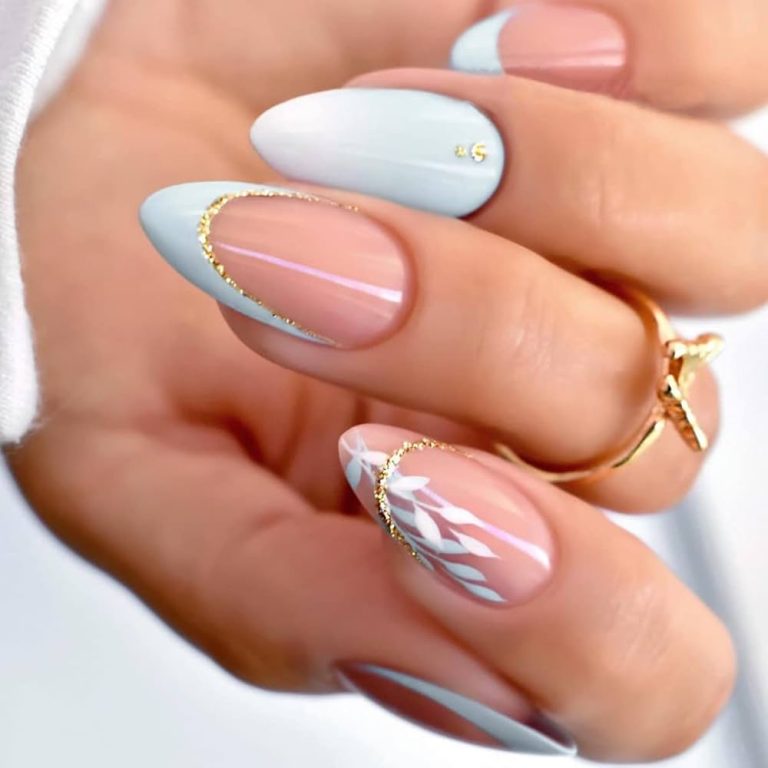
Step-by-Step Guide: Applying Polygel Nails like a Pro
Introduction to Polygel Nails
Polygel nails are a revolutionary nail enhancement. They offer strength, flexibility, and versatility. This hybrid formula combines the best qualities of acrylics and gel nails. Polygel nails are lightweight and durable. They can adapt to various nail shapes and sizes. Learning how to apply polygel nails can elevate your nail game. It’s key to understand the process for professional results. With proper application, polygel nails can last for weeks. They require less filing than acrylics, making them more gentle on natural nails. Their damage-free removal is another plus. In this guide, we walk through each step to apply polygel nails. Our goal is to help you achieve a salon-quality finish at home.
Essential Tools and Materials
Before diving into how to apply polygel nails, gather your essentials. Here’s what you’ll need:
- Polygel Kit: This often includes the polygel, slip solution, and dual forms.
- Nail file: To shape your natural nails to the desired form.
- Buffer: For smoothing the nail surface before application.
- Cuticle pusher: To prep your cuticles and clear the nail bed.
- UV or LED lamp: Essential for curing the polygel and securing it to your nails.
- Base coat: Protects your nail and helps the polygel adhere better.
- Top coat: For a glossy finish and extra protection.
- Alcohol wipes: To clean the nails and remove any tacky layers after curing.
With these materials at hand, you’re set to apply polygel nails with skill. Make sure they are high-quality for the best results. Each plays a vital role in the polygel application process. Adequate preparation provides a smooth, professional look that lasts.

Preparing Your Natural Nails
Before you begin applying polygel, preparing your natural nails is crucial. Proper nail preparation will ensure the polygel adheres better and lasts longer. Here are step-by-step instructions to prepare your nails for polygel application:
- Clean Your Nails: Start by cleaning your nails with soap and water. This helps eliminate any dirt and oils from the nail surface.
- Dry Them Thoroughly: After washing, dry your nails completely. Water can prevent the polygel from sticking.
- Push Back Your Cuticles: Gentleness is key. Use a cuticle pusher to push back your cuticles. Be careful not to damage the nail bed.
- Trim and File: Trim your nails if necessary. Then, using a nail file, shape your natural nails to the desired form.
- Buff the Surface: Take your buffer and lightly buff the surface of each nail. Buffing helps to create a rough surface for better polygel adhesion.
- Remove Dust: Dust from filing and buffing can cause issues. Use an alcohol wipe to clean off any remaining dust.
- Apply a Base Coat: After cleaning, apply a thin base coat. Cure it under the UV or LED lamp as directed by the base coat instructions.
By following these steps carefully, you create the perfect canvas for polygel nails. This preparation can significantly impact the endurance and look of your nail enhancement.

How to Apply Polygel
Once you’ve prepped your nails, it’s time to apply the polygel. Following these steps will help ensure a flawless application. Let’s get started:
- Choose the Right Dual Form: Pick a dual form that matches the width and curve of your natural nail. It should not touch the cuticles or skin.
- Apply Polygel to Dual Form: Squeeze an appropriate amount of polygel onto the dual form. Use the spatula tool for precision.
- Shape the Polygel: Dip the brush in slip solution to prevent sticking. Use the brush to pat the polygel into place, covering the dual form’s interior evenly.
- Press Onto Nail: Gently press the dual form with polygel onto your nail. Start from the cuticle and press forward. Ensure there are no air bubbles.
- Cure Under Lamp: Once the dual form is in place, cure it under the UV or LED lamp. Follow the time recommended in your polygel kit’s instructions.
- Remove the Form: After curing, pop off the dual form. Do this carefully to avoid damaging the polygel shape.
Take your time with each step to get the best results. If it’s your first time, practice makes perfect. As you learn how to apply polygel nails, patience is essential. Pay attention to the details and work in a well-lit area. This will help you spot any imperfections early on.
Shaping and Buffing Polygel Nails
After successfully applying polygel to your nails, shaping and buffing are the next crucial steps. These ensure your nails look natural and refined. Here’s how to shape and buff your polygel nails:
- Remove any excess: If polygel has spilled over the edges, use a nail file to gently remove it. Aim for smooth sides that align with your natural nail’s shape.
- Shape your nails: Take your nail file and shape the polygel. Whether you prefer square, round, or almond, file the sides and tip to your liking. Make smooth, even strokes to avoid jagged edges.
- Buff the surface: Once shaped, use a buffer to even out the polygel surface. Buffing creates a smooth finish and helps the top coat adhere better.
- Check all angles: Look at your nails from different angles to spot any uneven areas. Pay extra attention to the tip and sides.
These steps are key for a polished look. Take your time to achieve the desired shape and finish. Keep the strokes steady and consistent for best results. Proper buffing and shaping also prepare your nails for the next stage: curing.

Curing Polygel Nails
After shaping and buffing, curing polygel nails is vital. This step hardens the polygel. It ensures your nails are strong and long-lasting. Here’s what to do:
- Check Instructions: Every polygel brand is different. Read the curing instructions that come with your kit.
- Position Your Hand: Place your hand under the UV or LED lamp. Make sure all nails are exposed to the light.
- Set the Timer: Use the timer on your lamp, or set one manually. This keeps track of curing time.
- Cure Each Hand: Cure one hand at a time. Don’t rush the process. Give each hand the full curing time recommended.
- Inspect Nails: After curing, inspect your nails. They should feel solid. There should be no sticky layer on top. If they’re not fully cured, cure for an additional minute or two.
Remember, improper curing can lead to weak nails. It may cause lifting or peeling. Take care in this step as it’s key for lasting polygel nails. Follow the times and procedures rigorously. Correct curing contributes to both the strength and beauty of your polygel manicure. With these tips, you can master how to apply polygel nails and enjoy them for weeks to come.
Adding Finishing Touches
Now that your polygel nails are shaped, buffed, and cured, it’s time to add those perfecting final touches. This stage enhances the look and sets your manicure to last longer.
- Clean the Nails: Begin by using alcohol wipes to remove any residual dust or stickiness on the nails. This ensures a clean surface for the top coat.
- Apply Top Coat: Use a high-quality top coat to give your nails a glossy finish. Carefully apply a thin, even layer over each nail. This not only adds shine but also adds another layer of protection.
- Cure Again: After applying the top coat, cure your nails under the UV or LED lamp as per the recommended time in your kit. This step solidifies the top coat for a durable finish.
- Oil Your Cuticles: Once the nails are fully cured, nourish your cuticles with cuticle oil. This prevents dryness and promotes healthy nail growth. Gently massage the oil into the cuticle area.
- Inspect Your Nails: Finally, inspect your nails from various angles making sure there are no flaws. All nails should look smooth, shiny, and fully sealed at the edges.
By following these proper finishing touches, your polygel nails will not only look stunning but will also endure everyday activities. Keep up with these steps to ensure a glamorous finish every time you apply polygel nails.

Maintenance and Aftercare Tips
Proper maintenance and aftercare are critical to keep your polygel nails looking great. Here are some straightforward tips to help you preserve your manicure:
- Avoid Harsh Chemicals: Protect your nails when using cleaners. Wear gloves to reduce exposure.
- Be Gentle: Treat your nails with care. Avoid hard impacts that could cause chips or cracks.
- Moisturize Regularly: Apply hand lotion and cuticle oil daily. This keeps nails flexible and strong.
- Touch-ups: If you notice any lifting, apply a small amount of polygel. Cure it to fix the issue.
- File Carefully: Smooth any rough edges with a gentle file. Do not file too deeply to prevent damage.
- Limit Water Exposure: Prolonged immersion can loosen polygel. Keep nails dry when possible.
- Professional Removal: When it’s time, get your polygel nails removed by a pro. It helps avoid nail damage.
By sticking to these tips, you can enjoy your polygel manicure for weeks. Always follow the aftercare instructions from your polygel kit for best results. Regular upkeep keeps your nails beautiful and strong.
Troubleshooting Common Polygel Application Issues
Anyone new to the process of how to apply polygel nails may encounter some hiccups. But don’t worry; most issues are common and can be fixed easily. Here are solutions to some frequent problems:
- Polygel Not Sticking: If the polygel isn’t adhering, your nails might be wet or greasy. Make sure nails are dry and clean before application. Use an alcohol wipe before applying the base coat.
- Air Bubbles: Air bubbles cause weak spots. To avoid this, press the dual form firmly to the nail. Do this slowly to push out any trapped air.
- Polygel Too Thick or Too Thin: Practice is key. Use just enough polygel to cover the dual form. Too much makes nails bulky, too little makes them weak. Aim for a medium, even layer.
- Polygel Lifting: This often happens when the base coat isn’t cured properly. Double-check your lamp’s curing time. Also, ensure the edges of the polygel are smoothly sealed to your natural nail.
- Difficulty Shaping Nails: If shaping is tough, the polygel might be under-cured. Make sure you give it the full time under the lamp. If it’s too hard, cure for less time next session.
By handling these common issues, you can keep your manicure looking perfect longer. With each application, your skill in how to apply polygel nails will grow. Be patient and enjoy the learning process.

