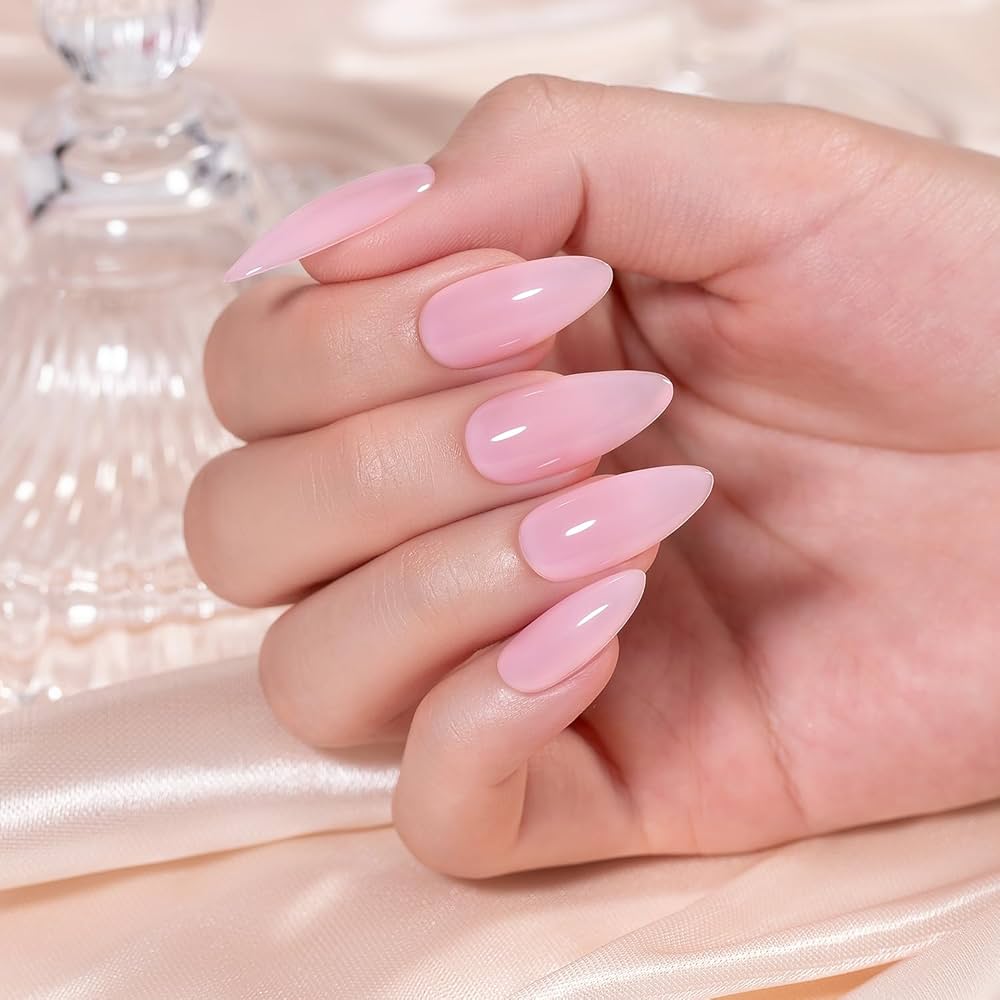
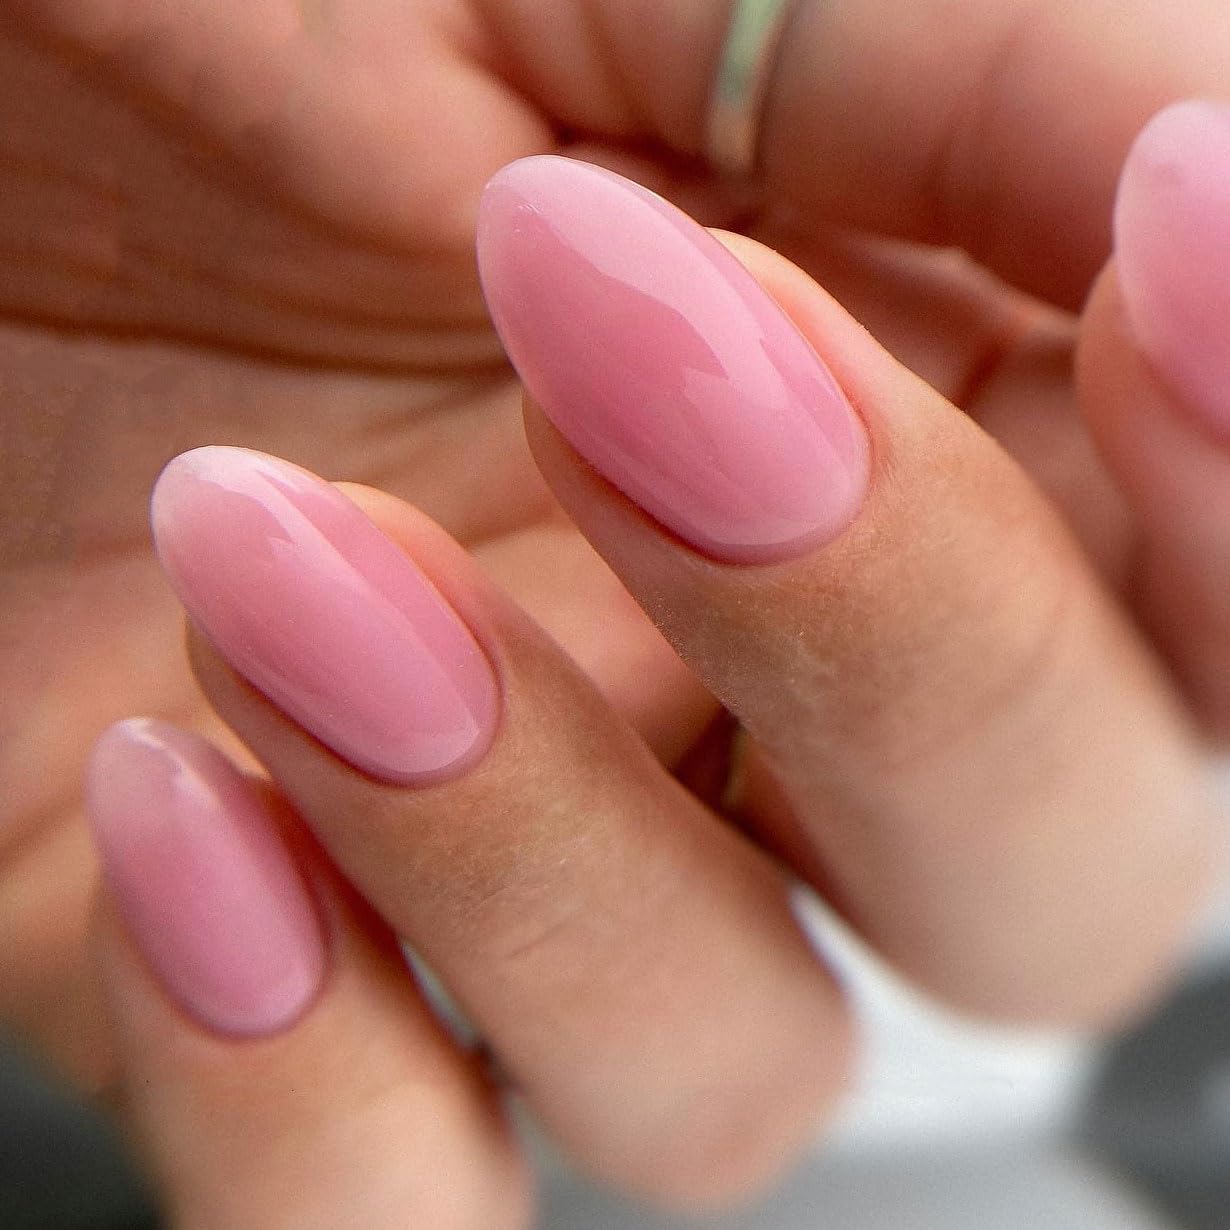
Achieve Flawless Gel Nails at Home
Contents
hide
Preparing Your Nails for Gel Polish
Before diving into the colorful world of gel polish, a vital step is preparing your nails correctly. Proper preparation not only ensures your manicure will look professionally done, but also greatly extends its longevity. Here’s how to create a perfect canvas for your gel nails to flourish.
Removing Oils and Dehydrating the Nail Plate
Start with clean, oil-free nails for the best adhesion. Wash your hands thoroughly and then use a cotton pad dipped in 100% pure acetone to wipe each nail. This removes natural oils and dehydrates the nail plate, making it ready for the gel polish to bond.
Shaping Your Nails for Gel Manicure
Next, shape your nails using a 180 grit nail file. This grit is gentle yet effective, allowing you to create your desired shape without causing damage. Focus on achieving a uniform shape for each nail, whether you prefer a rounded, square, or any other shape. After shaping, gently buff the surface of each nail. This creates a slightly rough texture, improving the gel polish grip.
By following these steps to prepare your nail plate, you set the stage for a stunning gel manicure that not only looks great but lasts longer too.
Cuticle Care for a Perfect Gel Manicure
Proper cuticle care is essential for a flawless gel manicure. Taking care of your cuticles means you’re setting up a clean base for your polish, which helps prevent lifting and ensures better adhesion of the gel to your nails.
Using Cuticle Softener Effectively
Apply a few drops of cuticle softener to each nail. Cuticle softeners help loosen and soften the skin around the nails. Let the product sit for a minute or two. Wipe away any excess and prepare for the next step. The right softener can make all the difference.
Gently Pushing Back and Trimming Cuticles
Gently push back the now-softened cuticles with a cuticle pusher. Be careful not to push too hard and cause damage. After pushing them back, trim the dead skin carefully with cuticle nippers. Avoid cutting any live tissue to prevent injury. Take your time with this step for neat and tidy results around your nail beds.
The keywords ‘how to do gel nails’ have been cleverly integrated to ensure a reader-friendly flow while also optimizing for search engines. Remember, thorough cuticle care can significantly extend the life of your gel manicure, making it look better and last longer.
Applying the Base Coat Correctly
Applying the base coat is a crucial step in the gel nail process. It acts as an adhesive layer between your natural nail and the polish, which is why it’s important to do it correctly to prevent chipping and peeling, and to ensure your manicure lasts.
Selecting the Right Base Coat
Choosing a suitable base coat can make a big difference. Look for products labeled ‘gel base coat’ to ensure compatibility with your gel polish. Some base coats are also formulated with extra benefits, such as nail strengthening or smoothing ridges, which can enhance the overall look and health of your nails.
Techniques for Strengthening Nails with Base Coat
To strengthen nails, apply the base coat properly:
- Prep Nails: Ensure nails are clean and free of oils.
- Apply Primer: If your base coat doesn’t include a primer, apply one beforehand.
- Thin Layers: Begin with a thin layer of base coat, spreading it from the cuticle to the edge of the nail.
- Cure: Cure under an LED lamp for the time specified by the product’s instructions, usually around 30 to 60 seconds.
- Add Layers: For extra strength, apply an additional thin layer and cure again.
Using these methods not only aids in achieving the desired nail strength but also contributes to the longevity of your gel manicure. Remember, a good base is the foundation of long-lasting, beautiful gel nails.
Gel Polish Application Tips
Applying gel polish correctly is key for a dazzling manicure. Here are tips to get that salon-quality look at home.
Achieving Even Color with Thin Coats
For even color and no clumping, apply gel polish in thin coats. Thick coats may not cure well and can wrinkle. First, stir the polish well. Then, take a small amount on the brush. Apply from cuticle to tip in smooth, even strokes. Allow the first coat to cure under an LED lamp before adding the second.
Wait for the first coat to dry completely. It should cure for about 30 to 60 seconds. Check the polish’s instructions for the exact time. Watch for bubbles or streaks. If any, smooth them out before curing.
After the first coat is fully dry, add the second coat. Again, use thin, smooth strokes for a flawless layer. Cure again under the lamp. Two coats usually give full coverage. Add a third if needed for deep colors or full opacity.
Capping the Tips for a Lasting Finish
Capping the tips helps prevent chipping at the nail edges. After applying polish to the nail, sweep a small amount across the nail tip. Do this for each layer, including the base and top coats. The goal is to seal in the color for a long-lasting effect.
Remember to remove any excess polish from the skin or cuticles before curing. This ensures a clean, professional finish. It also avoids lifting or peeling of the polish. A wooden stick or clean-up brush dipped in acetone works well for touch-ups.
With these gel polish application tips, expect a smooth, even finish. Your manicure will have the depth and durability of a professional job.
Top Coat Application for Maximum Shine
After meticulously applying your gel polish, securing maximum shine with a top coat is the final step to ensure your nails gleam. This layer not only adds brilliance but also provides a protective seal over your gel polish, guarding against chips and scratches.
Choosing a No-Wipe Topcoat for Convenience
Opt for a no-wipe topcoat to simplify the finishing process. These innovative formulas do not require any post-cure cleansing, saving you time and effort while still delivering a high-gloss finish. Ensure the topcoat matches your gel polish brand for optimal compatibility.
Applying Top Coat to Prevent Chipping
To safeguard your manicure, apply the top coat with precision:
- Even Layers: Distribute a thin, even layer across the nail.
- Seal Edges: Carefully brush across the nail tip to seal the edge.
- Avoid Skin: Keep the topcoat off your skin and cuticles.
- Cure Properly: Use an LED lamp to cure the topcoat as directed.
An accurate topcoat application plays a vital role in extending the life of your gel nails, warding off premature chipping, and maintaining that salon-quality shine.
Post-Manicure Care for Longevity
Caring for your gel nails doesn’t end with the final coat of polish. To make sure your manicure stays perfect, take the time for some post-application TLC. The right care ensures your nails look great longer.
Importance of Cuticle Oil
After finishing your manicure, don’t forget the cuticle oil. This oil keeps your cuticles and nails hydrated. Daily application is key. It prevents your nails from becoming brittle and your manicure from chipping. Apply cuticle oil over your nails and around the edges. Rub it in well every day.
Protecting Your Gel Nails from Damage
To keep your gel nails undamaged, treat them with care. Avoid using your nails as tools to open things. Wear gloves when cleaning or washing dishes. This protects them from harsh chemicals and water. Also, never peel off your gel polish! Peeling can weaken your nails, making them more likely to break and your next manicure less durable.
By following these simple steps, you can enjoy a long-lasting, professional-looking gel manicure from the comfort of your home. Remember, the way you treat your nails after a manicure is just as important as the application process. Keep them moisturized, protected, and handle them with care.
Conclusion: Perfecting Gel Nails at Home
Creating beautiful gel nails at home is an achievable goal. By following the outlined steps, anyone can master the art of gel nail application with practice. Start with gathering the necessary tools and materials, including a good quality base coat, top coat, and polish.
Key Steps Recap
Preparation is crucial. Properly shape and buff the natural nails. This ensures better adhesion and longevity of the gel. Following this, a thin layer of base coat sets the foundation. Curing under the UV or LED lamp solidifies this layer. Continue by applying the gel polish in thin coats, curing each one. Finally, finish with a top coat to seal the design and add shine.
Moreover, patience plays a vital role. Avoid rushing through the process. Each layer needs sufficient curing time to prevent smudges and ensure durability. Taking time for each step will lead to stunning results, making the effort worthwhile.
Maintenance and Removal
Equally important is maintenance. Regularly apply cuticle oil to keep nails hydrated. This ensures the longevity of the gel manicure, preventing premature lifting or chipping. When it’s time for removal, avoid the temptation to peel off the gel. Instead, use a proper soak-off method to maintain nail health.
In summary, achieving salon-quality gel nails at home requires attention to detail, the right products, and patience. With consistent practice, the application process will become easier and faster. So, dive into the world of gel nails, and enjoy the satisfaction of creating a flawless manicure that lasts. In the long run, not only does this skill save money, but it also offers endless opportunities for creativity. The journey begins today!