Step-by-Step Guide: Gel X Nails Application
Introduction to Gel X Nails
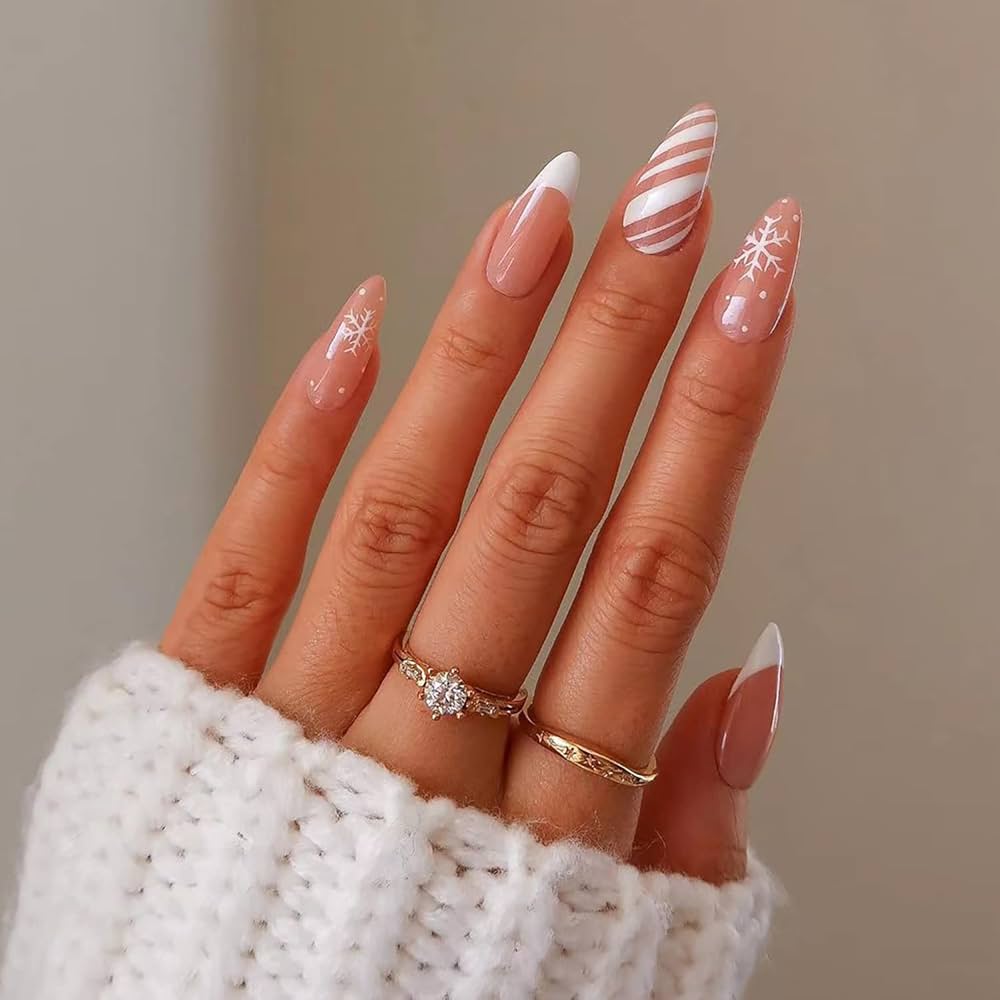
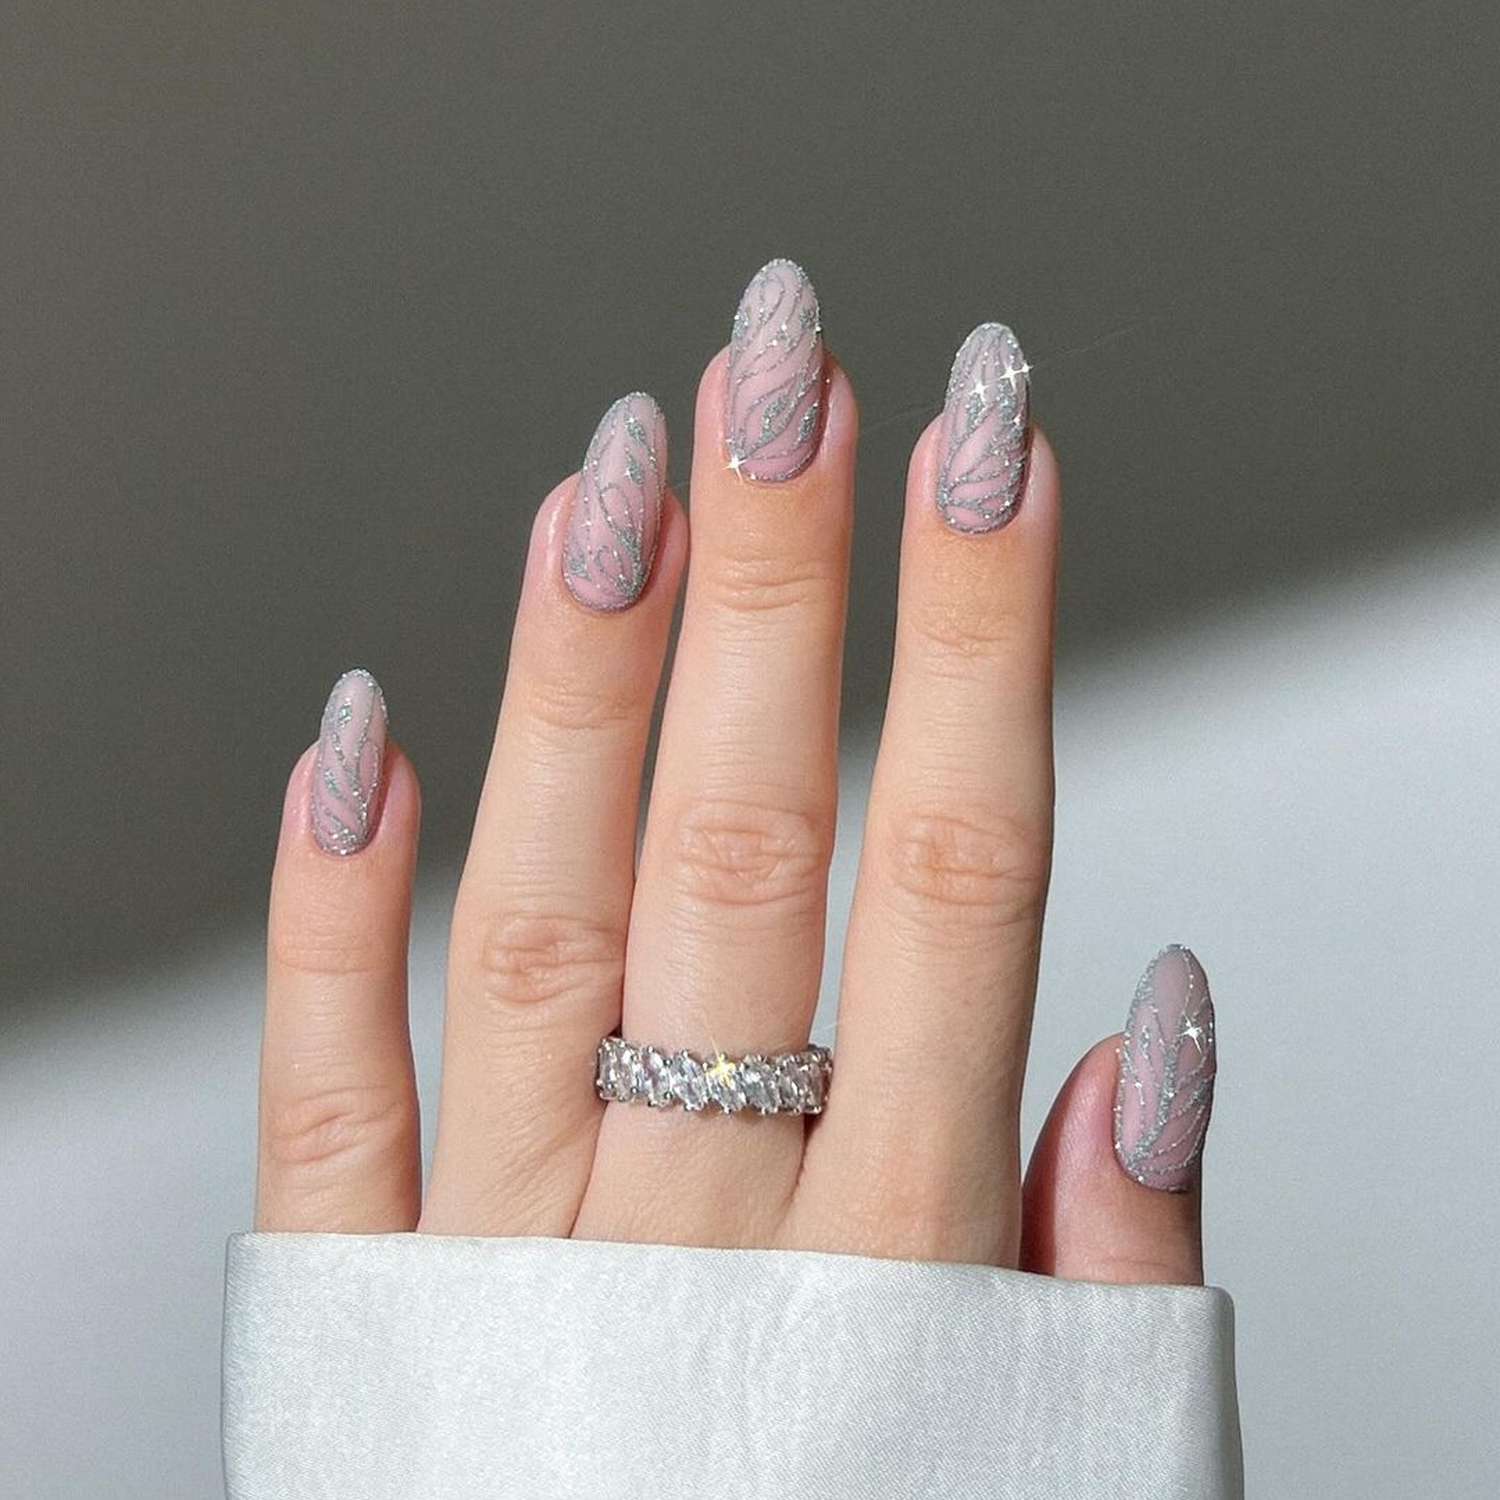
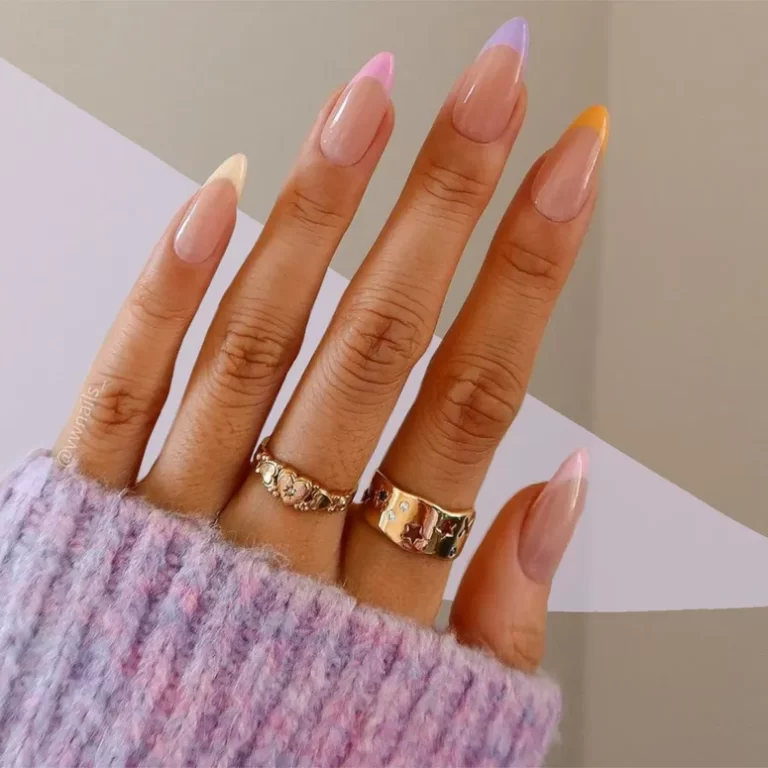
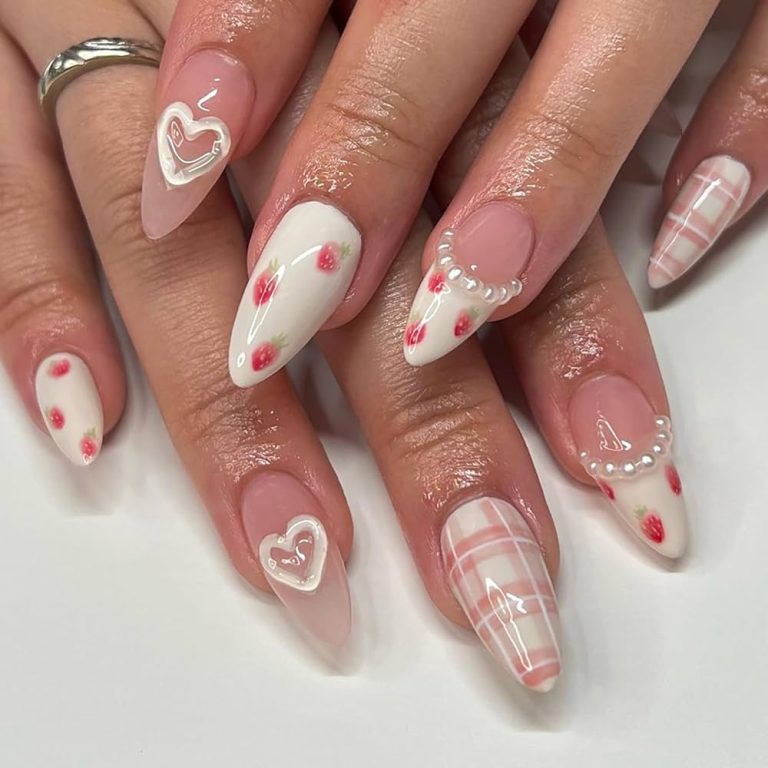
Gel X nails are a popular choice for long-lasting manicures. Unlike traditional gel polish, Gel X systems involve pre-shaped nail tips. These tips adhere to your natural nails. The result is a seamless, durable extension that looks natural. People love Gel X for its ease of application and its minimal damage to natural nails. It is important to follow the right steps in how to do gel X nails. This ensures a professional look. Perfect your Gel X nails application at home or in the salon. Start by gathering all the right tools and materials. In this guide, we will take you through the essentials for a stunning Gel X manicure.
Tools and Materials Needed for Gel X Nails
Before diving into how to do gel x nails, let’s ensure you have all the necessary tools and materials on hand. A proper setup is key to a seamless Gel X nails application. Here’s what you’ll need:
- Gel X nail tips: These come in various sizes to match your natural nails.
- Nail file: Use this to shape the tips and your natural nails.
- Buffer: This smooths out the nail surface for better adhesion.
- Cuticle pusher: Gently push back cuticles to prepare the nail bed.
- Gel X base coat: This acts as an adhesive layer between your natural nail and the nail tip.
- LED or UV lamp: Needed to cure the base coat and other gel products.
- Tip applicator or tweezers: For precise placement of the Gel X tips.
- Scissors: To trim the tips if necessary.
- Nail cleanser: To clean the nail surface before application.
- Lint-free wipes: Use these with the nail cleanser for a dust-free nail surface.
Collect these items before starting your Gel X nails application. This ensures a streamlined process without interruptions. Each tool plays an essential role in the success of your Gel X manicure, so don’t skip any!

Preparing Your Natural Nails
Before you start the step-by-step Gel X nails application, preparing your natural nails is crucial. This process ensures that the Gel X tips adhere well and last longer. Follow these simple steps to prepare your nails properly:
- Clean Your Nails: Begin by cleaning your nails with a nail cleanser. Remove any old polish and debris.
- Shape Your Nails: Next, use the nail file to shape your natural nails. Aim for a shape that complements the Gel X nail tips you’ll be using.
- Push Back Cuticles: With a cuticle pusher, gently push back the cuticles. Be careful not to damage the nail bed.
- Buff Nails: Gently use the buffer on your natural nails. This creates a smooth surface for better adhesion.
- Remove Dust and Oils: Finally, use a lint-free wipe soaked in nail cleanser to remove any dust and oils. Your nails are now ready for the Gel X base coat.
By completing these steps, you’ll ensure a clean and optimal surface for applying Gel X nails. It’s important to not rush this preparation. Good prep can make a big difference in how the nails look and last.

Step-by-Step Application Process
After preparing your natural nails, it’s time to begin the Gel X nails application. Here’s a clear step-by-step guide to ensure you achieve the best results:
- Apply the Base Coat: Start by applying a thin layer of the Gel X base coat to your natural nails. This acts as the glue that will hold the Gel X nail tips in place.
- Cure the Base Coat: Once the base coat is applied, cure it under an LED or UV lamp. Follow the recommended time stated on the product (usually about 30-60 seconds).
- Apply the Nail Tip: Select the appropriate size Gel X nail tip for each finger. Use the tip applicator or tweezers to carefully place the tip onto your natural nail. Make sure it’s aligned correctly.
- Cure the Nail Tip: After placing the nail tip, cure it under the LED or UV lamp. This will secure the tip in place.
- Shape and File: Once the nail tips are securely adhered and cured, use the nail file to shape them as desired. Focus on blending the tips seamlessly with your natural nails.
- Apply Gel Polish (Optional): If desired, you can now apply gel polish over the Gel X tips. Apply it in thin layers and cure each layer under the lamp.
By following these steps carefully, you’ll ensure a successful application of Gel X nails that not only looks professional but also lasts longer.
Tips for Perfect Application
Achieving a perfect Gel X nails application involves several pro tips. These tips focus on precision, patience, and attention to detail. Here’s how you can ensure a flawless finish every time:
- Take Your Time: Rushing can lead to mistakes. Allow yourself adequate time for each step.
- Apply Base Coat Evenly: An uneven base coat can result in lumpy nails or poor adhesion. Apply it in a thin, even layer.
- Avoid Air Bubbles: When applying the nail tip, press firmly to avoid air bubbles which can weaken the structure.
- Use Correct Tip Size: Choosing the right size Gel X nail tip is crucial. If the tip is too small or too large, it can lead to lifting or uncomfortable wear.
- Keep Tools Clean: Before and after each use, clean your tools. This prevents contamination and ensures a neat application.
- Follow Curing Times: Stick to the recommended curing times to avoid under or over-curing the gel products.
- Inspect Each Nail: After applying and curing the tips, check for any edges that need additional smoothing or shaping.
By keeping these tips in mind, you will improve the longevity and appearance of your Gel X nails. Remember to be gentle with your nails throughout the process. A perfect application of Gel X nails is attainable with care and precision.

Curing and Finishing Touches
Once you’ve applied Gel X nails, curing is key. Use an LED or UV lamp to harden the gel. This makes the manicure durable and long-lasting. Here are the steps for proper curing and adding finishing touches:
- Cure Each Layer: After applying the Gel X base coat and each nail tip, cure them. Place your hand under the lamp using the time recommended on your gel product.
- No Touching: Don’t touch the nails between curing. This keeps the surface smooth.
- Check the Cure: Make sure each nail is completely cured. They should feel hard to the touch.
- Apply Top Coat: For extra shine and protection, add a gel top coat over the nails. This also prolongs the wear.
- Final Cure: Cure the top coat under the lamp. This is your final step in the curing process.
- Oil the Cuticles: After the nails are fully cured, nourish your cuticles. Use cuticle oil to keep them soft.
- Inspect Your Nails: Look for any rough spots or edges. Use a file for final shaping, if needed.
Following these steps will ensure your Gel X nails have a smooth finish. Keep an eye on curing times to avoid sticky nails or not fully cured gel. Remember, the final touches make a big difference in the look and longevity of your Gel X nails. Take your time to do it right, and you will enjoy beautiful nails for weeks.
Maintenance and Removal of Gel X Nail
To keep your Gel X nail looking their best, regular maintenance is key. Here’s what you should do to ensure the longevity of your Gel X nails:
- Keep Nails Dry: Avoid soaking your nails for long periods. Water can weaken the adhesive.
- Use Gloves: When doing chores, especially with harsh chemicals, wear gloves to protect your nails.
- Regular Cuticle Oil Application: Nourish your nails with cuticle oil daily to maintain nail health.
- Avoid Using Nails as Tools: Don’t use your Gel X nails to open cans or other items. It may cause them to lift or break.
Removal of Gel X nail should be done carefully to avoid damaging your natural nails. Follow these steps to remove your Gel X nails safely:
- File the Topcoat: Use a nail file to gently roughen the shiny topcoat. This helps the remover penetrate more effectively.
- Soak in Acetone: Wrap your nails with cotton soaked in acetone and cover with foil. Wait for about 10-15 minutes.
- Gently Push Off Gel X Nails: After soaking, use a cuticle pusher to gently lift the Gel X nails. If they resist, soak a bit longer.
- Hydrate Your Nails: Once removed, hydrate your nails with cuticle oil and hand cream.
In summary, proper maintenance involves protecting your nails from damage and keeping them nourished. When it’s time to remove the Gel X nails, do so with patience and care. This ensures your natural nails stay strong and healthy.

Common Mistakes and How to Avoid Them
Getting a professional-looking Gel X nail application involves careful steps. Below, we’ll review common mistakes and offer tips for avoiding them:
- Selecting Incorrect Tip Size: For an ideal fit between the nail tip and your natural nail, measure them properly. If the tip is too large or small, it won’t adhere well.
- Skipping Nail Preparation: Proper prep is crucial. Skipping it can lead to lifting or peeling. Always clean, file, and buff your nails before applying the base coat.
- Applying Thick Base Coat: A thick base coat can lead to bubbles or peeling. Use a thin layer for the best adhesion.
- Not Curing Properly: Stick to the recommended curing times. Under-curing can make nails weak, while over-curing can cause them to crack.
- Working in a Dusty Area: Dust can get trapped under your Gel X nail. Work in a clean space and use lint-free wipes before application.
- Using Nails as Tools: Gel X nails are durable but not indestructible. Avoid opening cans or performing tasks that can damage them.
- Neglecting Maintenance: Regular cuticle oil use and wearing gloves during chores can extend the life of your Gel X nail. Don’t neglect these steps.
- Rushing Removal: For removal, take your time and use the right technique. Rushing can damage the natural nail.
- Forgetting to Hydrate: After removal, apply cuticle oil and hand cream. This keeps your natural nails healthy.
Remember these points on how to do gel x nail and take your time at each step. This approach minimizes the risk of errors and results in a stunning Gel X nail finish that lasts.

