
Marble Nails Mastery: Step-by-Step Techniques
Introduction to Marble Nails Design
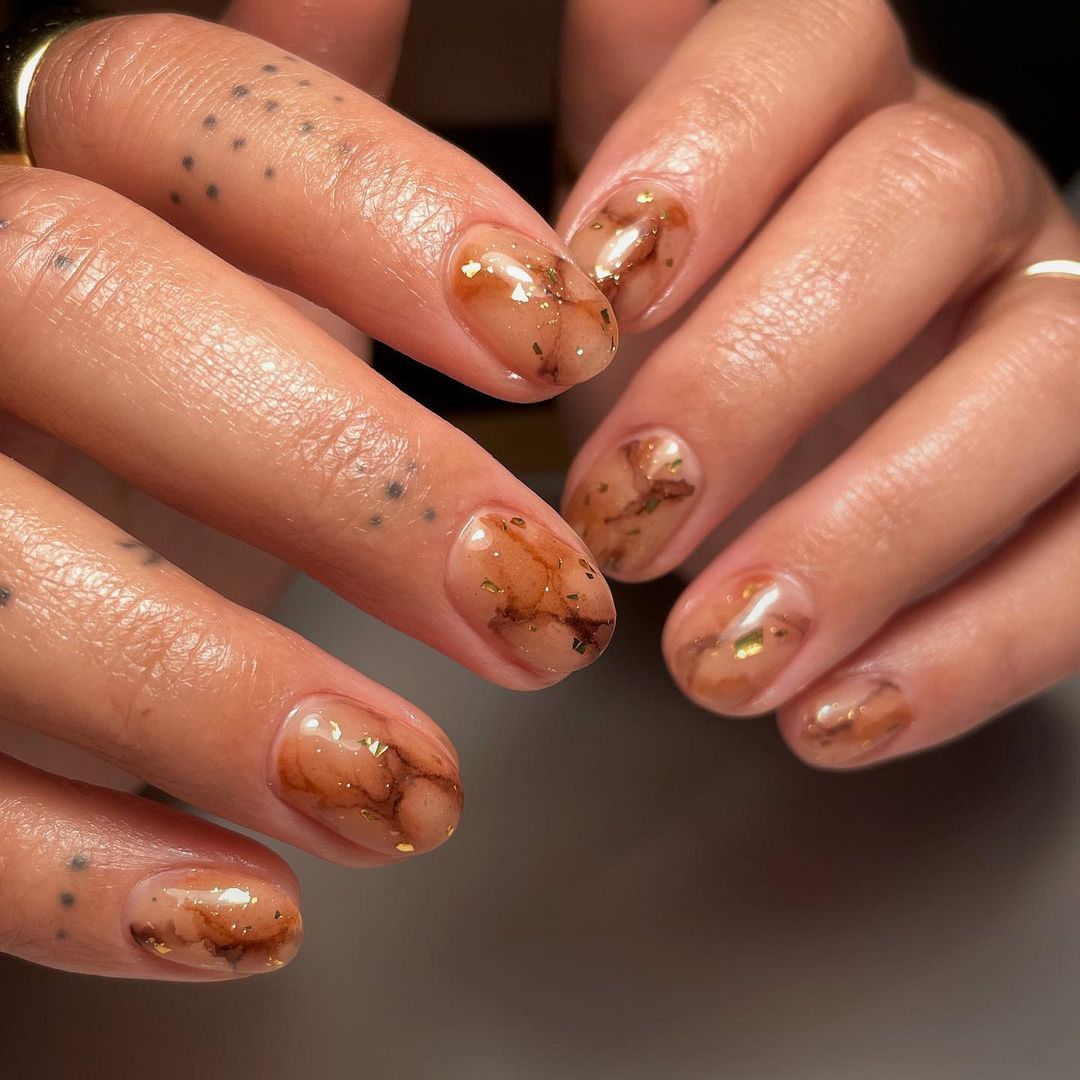
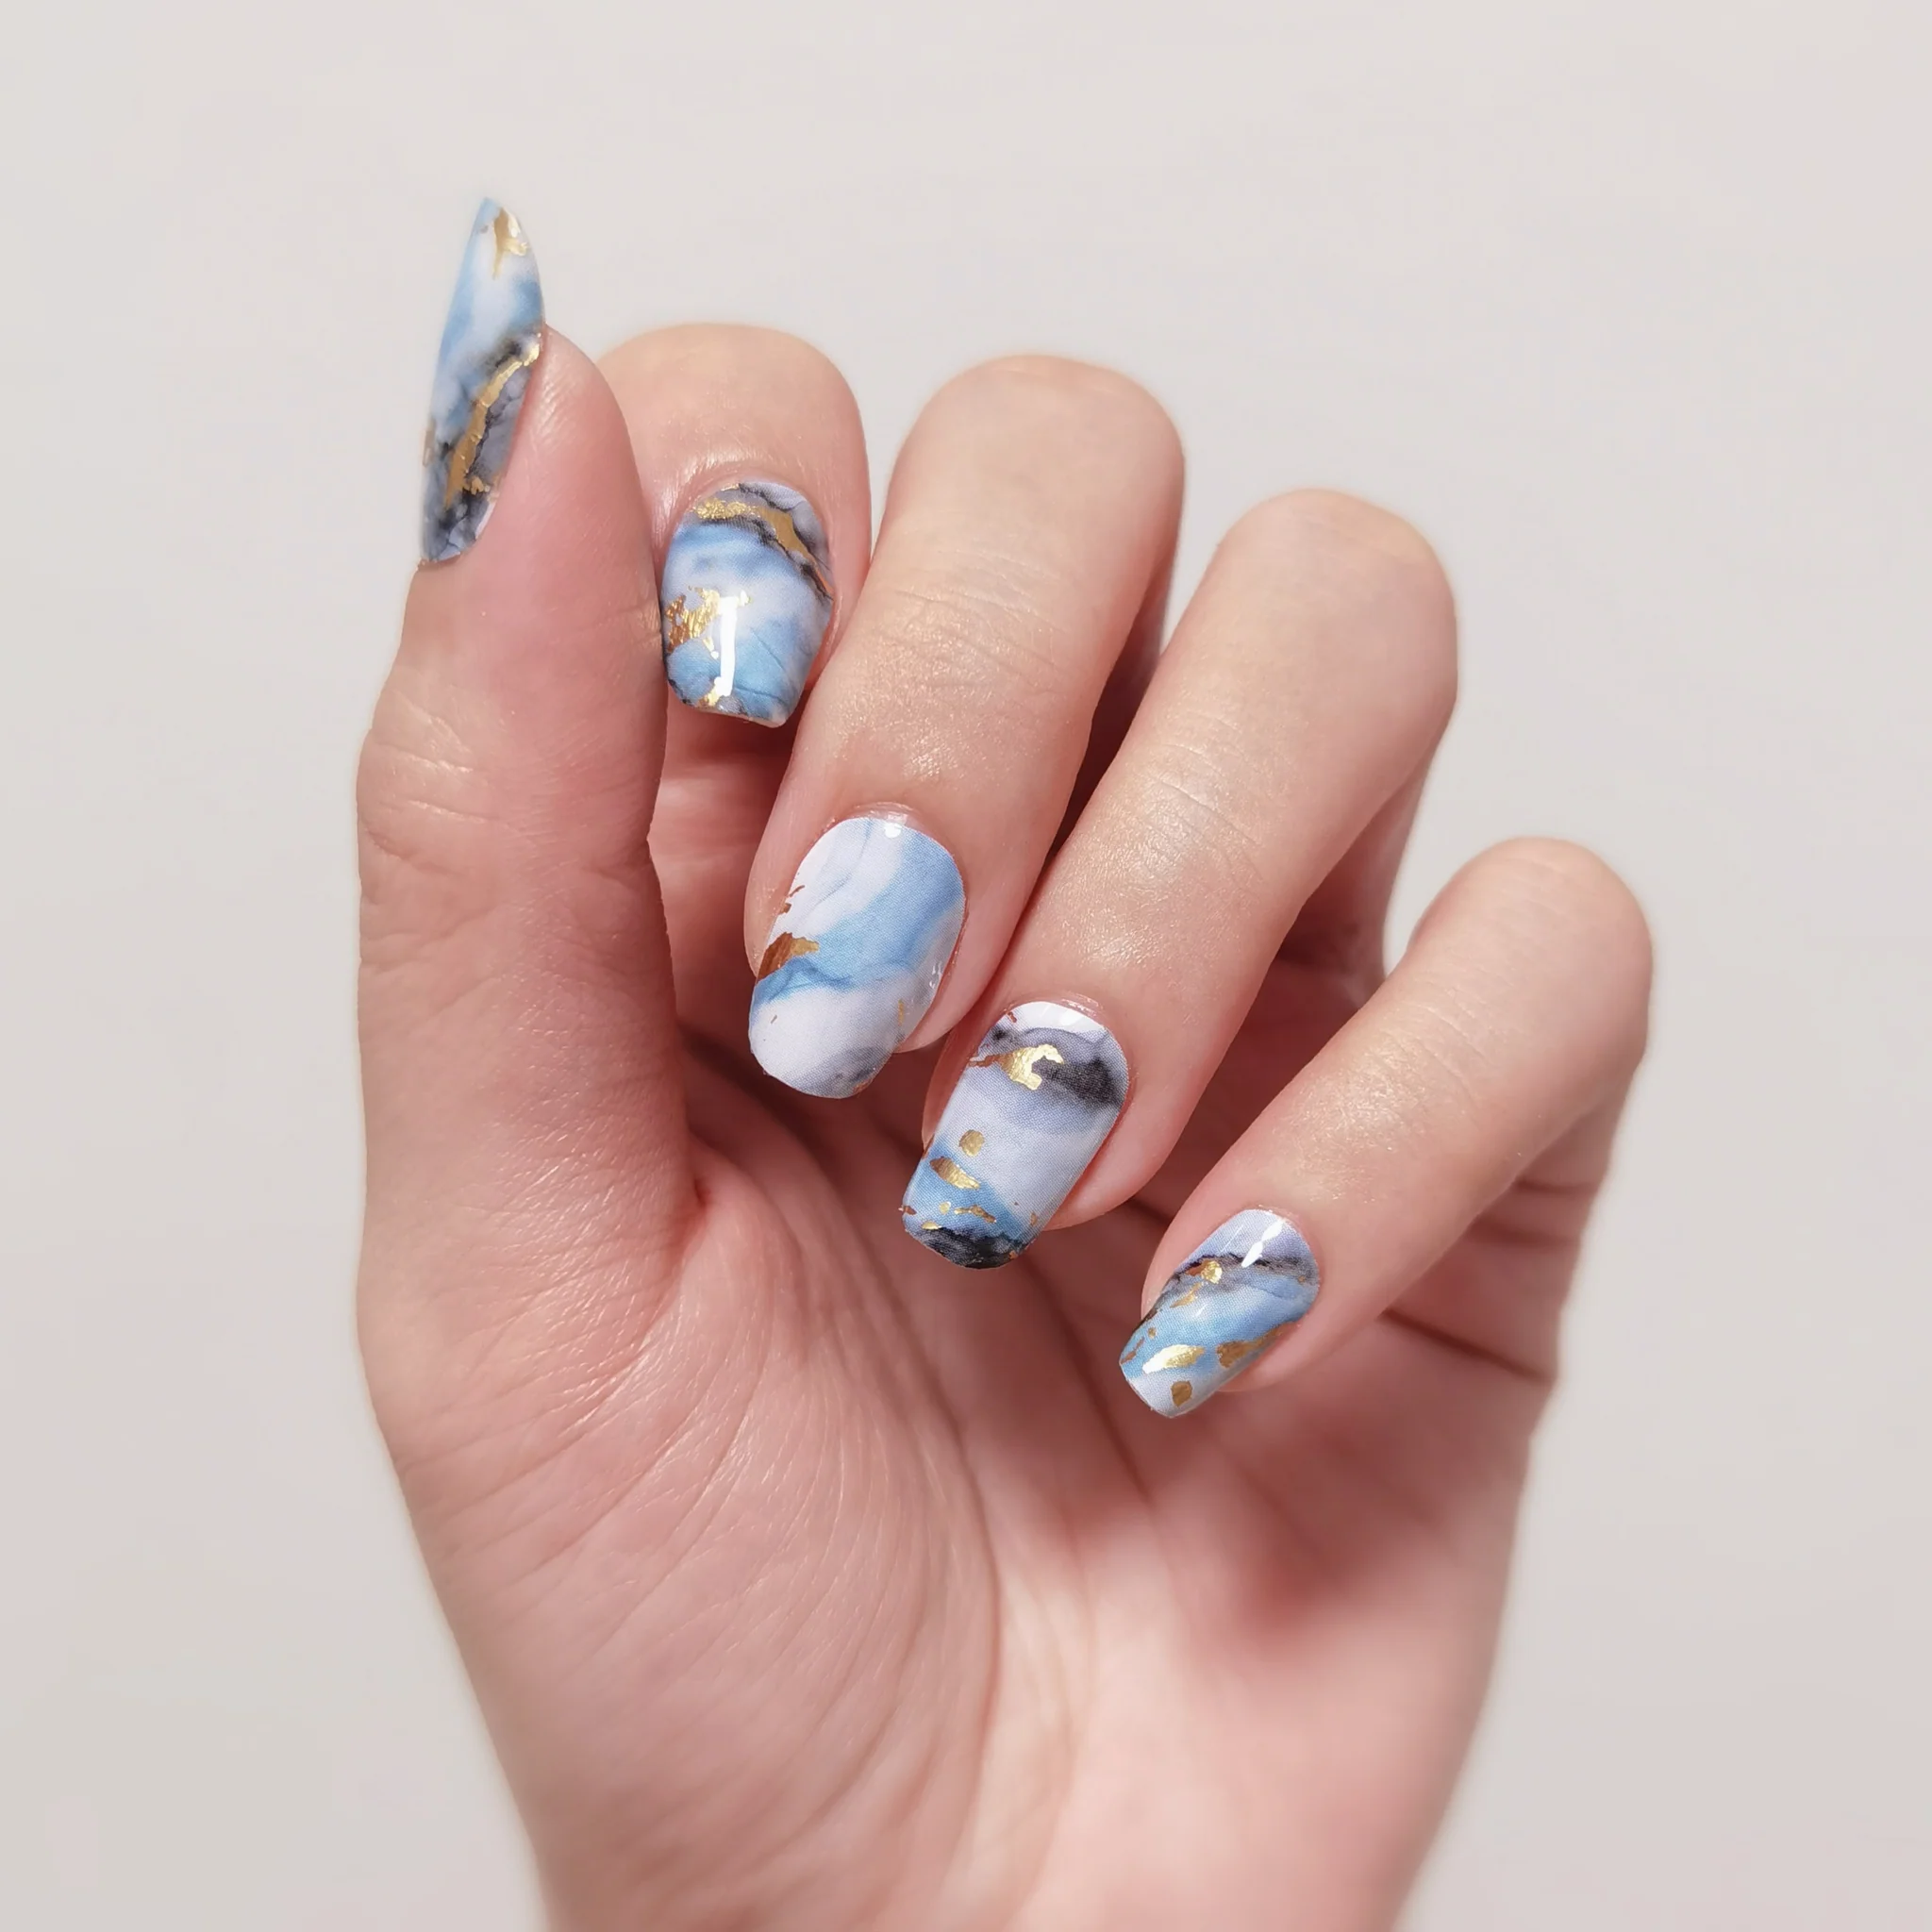
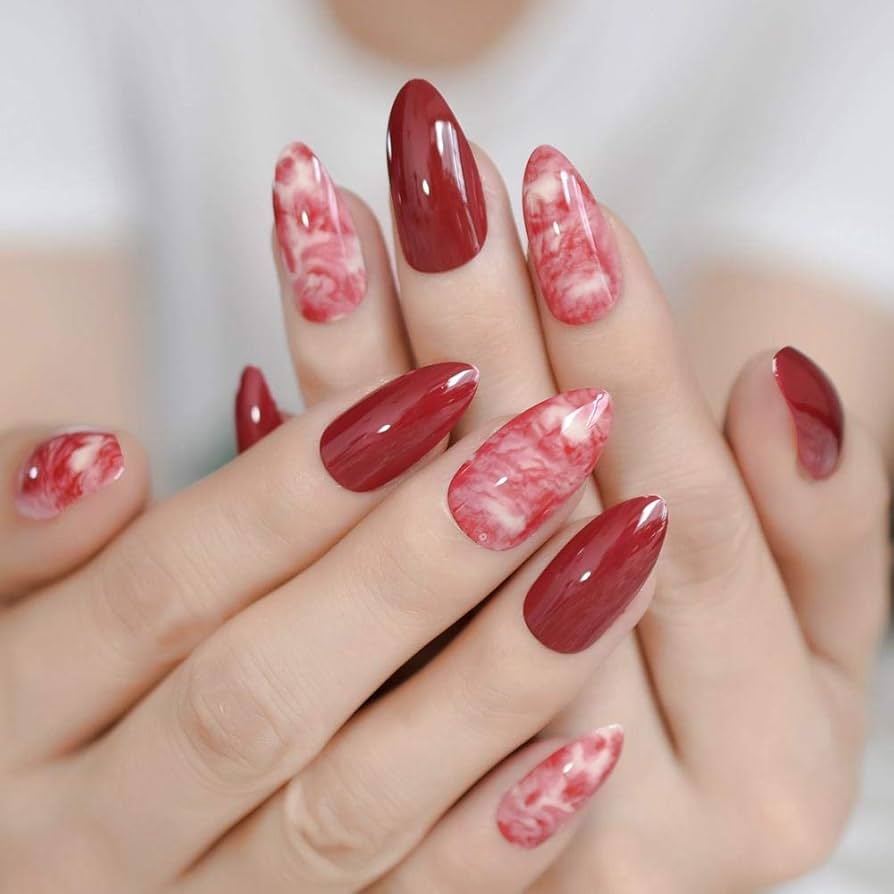
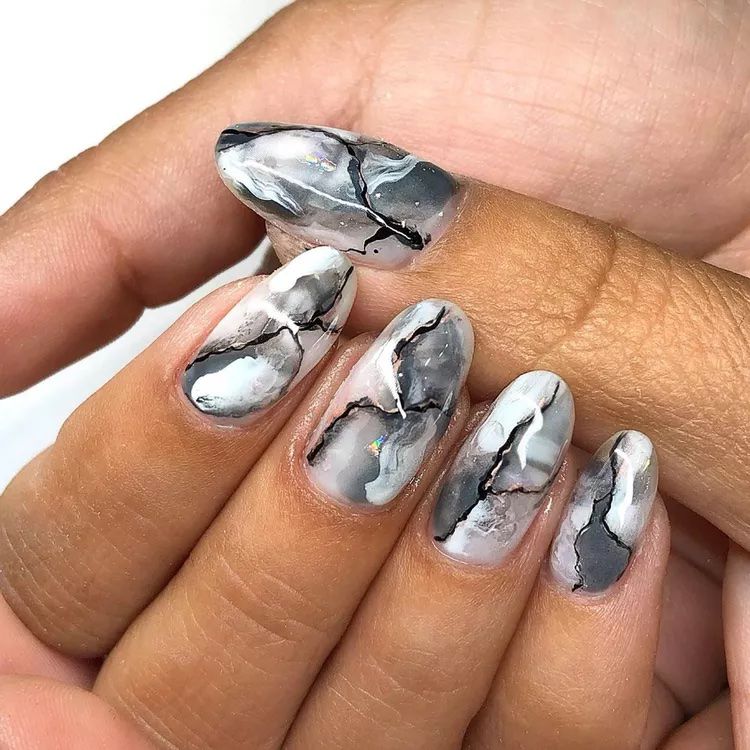
Marble nails are a timeless trend in nail art. These designs mimic the natural swirls and veins of marble stone, adding an elegant twist to your manicure. Perfect for any season, marble nails can be as subtle or as dramatic as you prefer. In this blog, we delve into various techniques to achieve the mesmerizing marble effect using KOKOIST products.
Whether you’re a professional nail artist or an enthusiast looking to try something new, mastering marble nails will expand your creative horizons. Each method we’ll explore offers a unique way to create these exquisite designs, from bleeding inks to tap brushes. Get ready to learn how to do marble nails with confidence and artistry. Let’s dive into the first technique!
Marble Technique #1: Using Bleeding Inks by KOKOIST
Step-by-Step Guide for Bleeding Inks Technique
Bleeding inks are a fantastic way to achieve a marble nail design. Specifically, KOKOIST’s alcohol-based inks deliver stunning, flowing patterns that simulate real marble. Here is a step-by-step guide to master this nail art technique:
- Select Your Colors: Choose shades that complement each other. For a Himalayan pink salt effect, mix #127 Strawberry Latte with #101S Beige Pebble.
- Base Application: Apply a dollop of the more opaque color first. Use three strokes and blend downwards.
- Cure the Base: After blending, cure the base coat under a lamp.
- Ink Application: Shake the KOKOIST White Alcohol Ink well. Apply it in an organic pattern for a natural marble look. Let it air dry.
- Second Layer: Apply a second layer of your color mix. Cure it once more.
- Detailing with White Ink: Add more white ink for depth. Use diagonal strokes to mimic the marble’s veins.
- Final Cure: Allow the white ink to dry completely.
- Top Coat: Seal the design with a top coat and cure one last time.
With just a few steps, you can create a luxurious marble effect on nails. Remember to have fun and let the pattern form as if by magic! Be light-handed with inks and enjoy the process.
Marble Technique #2: Art Clear Gel Method
Step-by-Step Guide for Art Clear Gel Marbling
The Art Clear Gel from KOKOIST is a versatile tool for creating marble designs with depth and intricacy. Here’s how you can use this method to achieve stunning marble nails:
- Apply a White Base: Choose a white polish for a vivid backdrop that brings out the colors.
- Layer Art Clear Gel: Dot Art Clear on the base coat for a self-leveling effect.
- Add Your Colors: Start with Sedona Turquoise, adding Santa Fe Turquoise on top.
- Create the Marble: Overlap colors and use a brush to blend them on the nail.
- Introduce Contrasts: Drop in Bourbon Brown and Deep Papaya for varied tones.
- Curing: Hit the design with a brief lamp cure to set it in stages.
- Adjust and Cure: Add more color, finalize the design, and cure thoroughly.
- Top Coat Finish: Apply a top coat for shine and protection; cure fully.
Use gentle strokes and let the gels’ self-leveling properties do the work. This method is all about layering and creating a rich, multi-dimensional effect.
Marble Technique #3: Creating Marble with Hazy Gel
Step-by-Step Guide for Hazy Gel Marbling
Hazy Gel, sometimes called Blooming Gel, is a low viscosity gel perfect for marble effects. It allows colors to spread and blend in a way that mimics natural stone patterns. Below is a simple guide on how to do marble nails using Hazy Gel:
- Apply Hazy Clear Gel: Start with a coat of Hazy Clear Gel on the entire nail. Do not cure yet.
- White Gel for Dispersion: Add a touch of Hazy White Gel. Focus on the nail’s center to prevent overflow.
- Introduce Color: With an angular brush, apply Viola Purple Glass, removing excess for a clean mix.
- Layering Shades: Add Lavender Petals. Float the color on the gel for a blended look.
- Add Depth: Drop Licorice Jelly Bean’s dark tone to enhance the marble effect.
- More Movement: For extra flow, apply additional Hazy Clear Gel and form lines with a brush.
- Base Gel for Smoothness: Apply a layer of Mega Stick Base to even everything out and then cure.
- Matte Top Coat for Visibility: Finish with Velvet Matte Top Coat and cure for standout patterns.
With Hazy Gel, less is more. It’s all about strategic placement and allowing the gel to do most of the work. Practice will make perfect as you get used to the way the gel flows and sets.
Marble Technique #4: Marbling with KOKOIST’s Tap Brush
Step-by-Step Guide for KOKOIST’s Tap Brush
Marbling your nails with KOKOIST’s Tap Brush brings a textured look to your manicure. This technique is not just creative but also relatively easy to master. Follow this guide to create your marble nail design step by step:
- Prepare the Base: Apply a thin white base coat. Maxi White or Bluey White works well.
- Start with Light Colors: Put light colors like Smokey Mustard at the bottom. Use small amounts on the palette.
- Tap It On: With the Tap Brush, press the color from the palette to the nail. Aim for random, pleasant blobs.
- Clean the Brush: After each color, clean your brush with alcohol to avoid unwanted mixing.
- Layer Colors: Add more colors by tapping them onto the nail, filling up spaces and creating the design.
- Cure Briefly: Use a flash cure for 5-20 seconds to set the colors lightly.
- Blend Colors: Add neutral white taps and blend more color if needed. Cure for 30 seconds when satisfied.
- Apply Top Coat: Finish with a top coat of your choice to seal the design. Cure it completely.
The Tap Brush technique is about layering and blending colors. It is important to use gentle taps to produce the characteristic marbled effect. Keep a light hand and allow your creativity to flow. Each nail becomes a unique piece of art.
Tips for Perfecting the Marble Effect
Achieving the perfect marble effect in nail art requires patience and practice. Here are some tips to enhance your technique:
- Work on a Flat Surface: Ensure your work area is stable. This will help you control your brush movements.
- Less is More: Be sparing with the inks or gels. You can always add more if needed.
- Use Quality Brushes: Invest in good quality brushes. They can make a big difference in the final look.
- Cure Wisely: Cure after each major step, but avoid over-curing as it may affect the marble pattern.
- Study Real Marble: Look at actual marble stones. Notice the natural flow and try to replicate it.
- Ink Control: When using inks, control the amount and spread to prevent muddying colors.
- Gel Movement: Allow gels to level by themselves for a natural effect. Don’t overwork the design.
- Contrast is Key: Use contrasting colors for a more realistic marble appeal.
- Practice Different Techniques: Don’t rely on just one method. Experiment to find what works best for you.
- Keep Hands Steady: A steady hand is vital when applying fine details and veining.
- Clean Up Edges: Use a fine brush to tidy any smudges or overflow for a professional finish.
With these simple tips, you can create stunning marble nails that look like they were done in a salon. Now let’s discuss how to seal your nail art for longevity.
Sealing Your Marble Nails Art: Top Coat Application
Once you have mastered the steps to create stunning marble nails, the final stage is to seal your design. A top coat application is like the last piece of the puzzle, locking in color and adding a glossy or matte finish, based on your preference. Here’s a straightforward approach to top coat application for marble nails:
- Choose Your Finish: Decide if you prefer a glossy shine or a matte look.
- Clean the Nail: Before applying, ensure no dust or particles are on the nail.
- Apply Thinly: Use a thin layer of top coat to avoid overshadowing the design.
- Cover Edges: Make sure the top coat reaches the nail tips to prevent chipping.
- Avoid Bubbles: Apply the top coat smoothly to keep bubbles from forming.
- Cure Effectively: Place nails under the lamp to cure as per the top coat’s instructions.
- Oil Application: For extra care, apply cuticle oil around the nails after curing.
By sealing your marble nails correctly, you prolong the manicure’s life and enhance its beauty. Whether you choose a shiny or matte finish, the right top coat makes your nail art pop and protects it from daily wear and tear. Always remember, practice makes perfect. Keep trying different methods to find what works best for you and your style.

