Body Sculpting Routine with At-Home Cavitation Machine
Contents
hide
Introduction: The Rise of DIY Body Contouring
Body contouring treatments have gained immense popularity in recent years. People constantly seek effective ways to shape their bodies and reduce stubborn fat. While professional treatments remain an option, a new trend has emerged: at-home cavitation machines. These devices promise to bring the power of ultrasonic cavitation technology right to your living room. But what exactly are these at home cavitation machine, and how do they work? This blog post delves into the world of at-home cavitation machines, exploring their benefits, potential drawbacks, and how to use them effectively. Whether you’re a fitness enthusiast or someone looking to jumpstart their body transformation journey, understanding this innovative technology can help you make informed decisions about your body sculpting routine.
Understanding Cavitation Technology: How It Works
Cavitation technology relies on the power of ultrasound waves to target and break down fat cells. At-home cavitation machines emit low-frequency ultrasonic waves that penetrate the skin and create tiny bubbles around fat cells. These bubbles then implode, causing the fat cells to break apart. The broken-down fat is then naturally eliminated from the body through the lymphatic system. This non-invasive process allows users to target specific areas of the body where stubborn fat tends to accumulate. Common treatment areas include the abdomen, thighs, hips, and arms.
Unlike surgical procedures, at home cavitation machine doesn’t require any incisions or downtime, making it an attractive option for those seeking a less invasive approach to body contouring. However, it’s important to note that cavitation is not a weight loss solution but rather a method for sculpting and refining body shape. Understanding the science behind this technology helps users set realistic expectations and use the machines more effectively.
Benefits of At-Home Cavitation Machine: Convenience and Cost-Effectiveness
The rise of at-home cavitation machines has brought several advantages to body contouring enthusiasts. First and foremost, these devices offer unparalleled convenience. Users can perform treatments in the comfort of their own homes, eliminating the need for salon appointments and travel time. This flexibility allows for more consistent treatments, which can lead to better results over time. Additionally, at-home machines prove significantly more cost-effective in the long run compared to professional treatments.
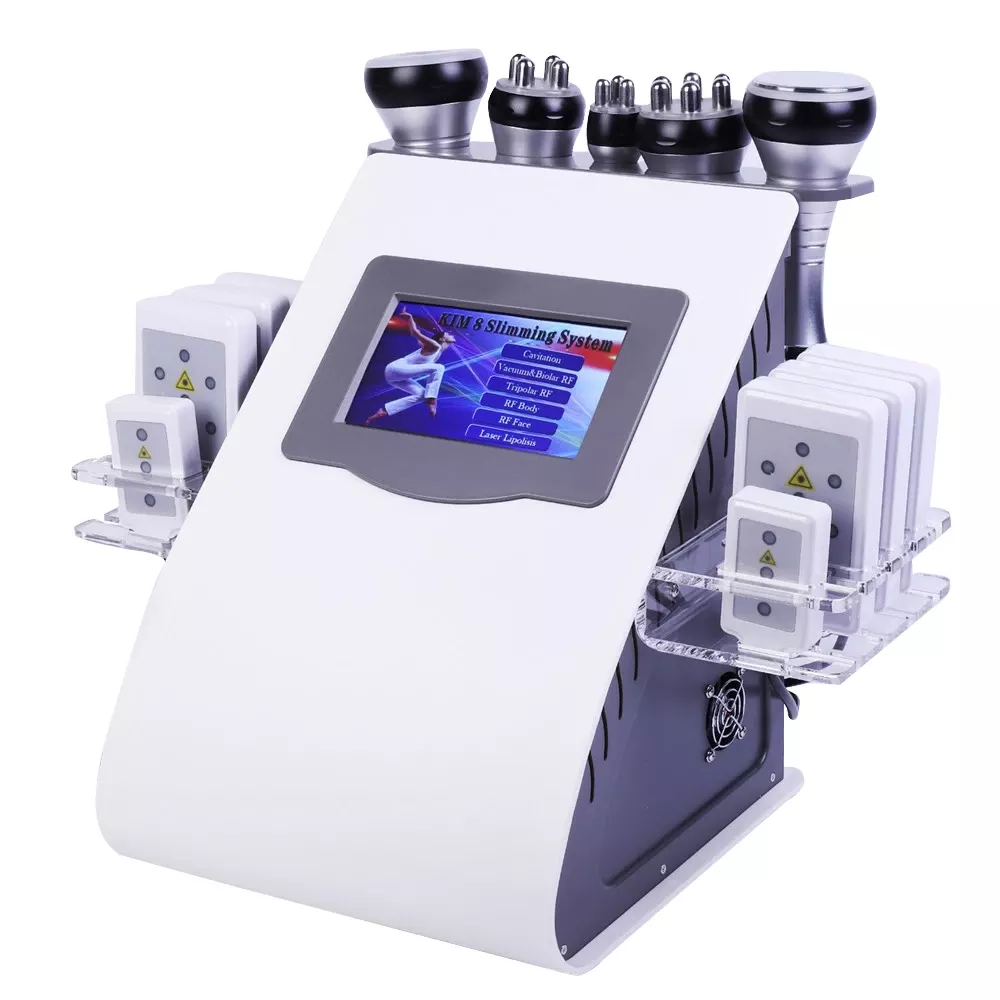
While the initial investment may seem substantial, it quickly pays off when compared to the cumulative cost of multiple salon sessions. At-home devices also empower users to take control of their body sculpting journey. They can adjust treatment intensity and frequency based on their personal needs and schedules. Moreover, these machines often come with additional features like LED light therapy or radiofrequency, providing a comprehensive approach to skin tightening and fat reduction. The ability to combine different treatments in one device further enhances the value proposition of at-home cavitation machines.
Choosing the Right Device: Features to Consider
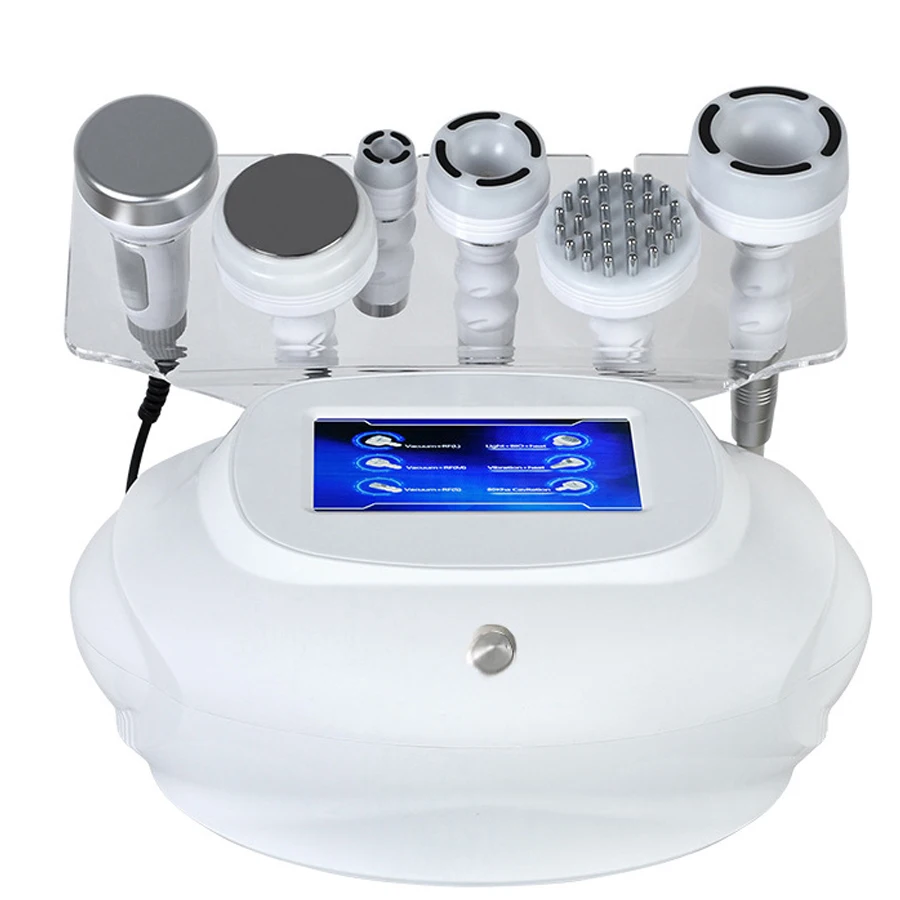
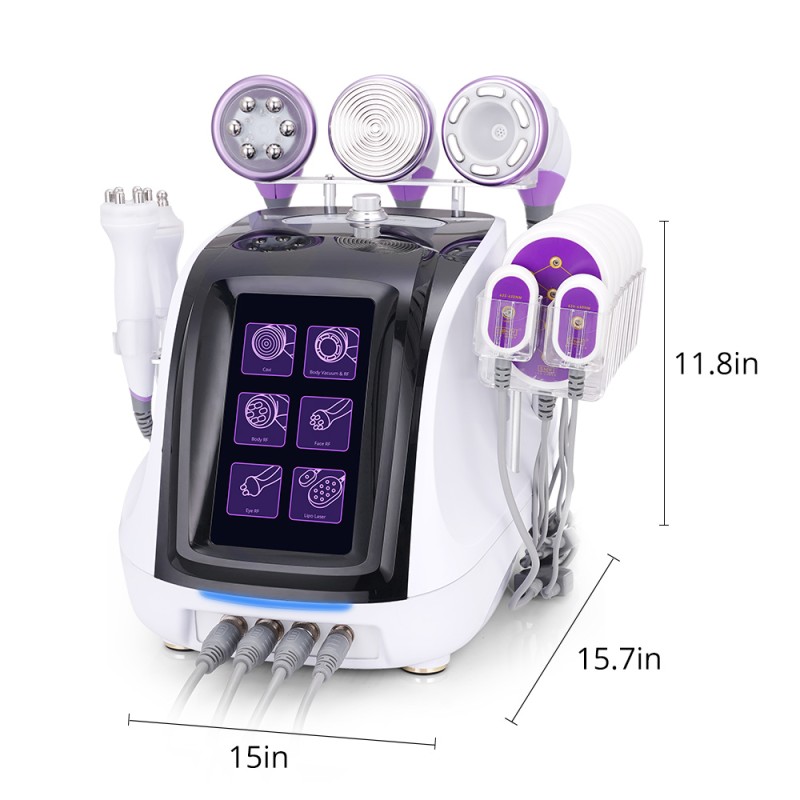
Selecting the right at-home cavitation machine requires careful consideration of several factors. First, look at the device’s power output and frequency range. Higher power outputs generally lead to more effective treatments, but they should still fall within safe limits for home use. The ideal frequency for cavitation typically ranges between 30-50 kHz. Next, consider the device’s design and ergonomics. A well-designed machine should be easy to handle and maneuver around different body areas. Some devices come with multiple treatment heads for targeting different areas more effectively.
Battery life and charging time also play crucial roles, especially for those planning longer treatment sessions. Many modern devices offer smart features like preset programs or mobile app integration for tracking progress. These can greatly enhance the user experience and help maintain consistency in treatments. Safety features such as automatic shut-off and adjustable intensity levels are essential for preventing overuse or injury. Lastly, don’t overlook the importance of warranty and customer support. A good warranty can provide peace of mind, while responsive customer support can help troubleshoot any issues that may arise during use.
Preparing for Your First Treatment: Steps for Success
Before diving into your first at-home cavitation treatment, proper preparation ensures optimal results and safety. Start by thoroughly cleansing the treatment area to remove any lotions, oils, or debris that could interfere with the ultrasound waves. Some users find it helpful to exfoliate gently to improve the skin’s receptiveness to the treatment. Next, measure and photograph the target areas to track progress over time. This step proves crucial for monitoring the effectiveness of your treatments. Apply a conductive gel or oil to the skin.
This substance helps the ultrasound waves penetrate more effectively and allows the device to glide smoothly over the skin. Ensure you’re well-hydrated before and after the treatment, as proper hydration supports the body’s natural fat elimination process. Set up your treatment space in a comfortable, well-lit area where you can easily reach all target zones. Have a timer on hand to track the duration of your session, as most treatments should not exceed 10-15 minutes per area. Lastly, familiarize yourself with the device’s settings and start with lower intensity levels, gradually increasing as you become more comfortable with the sensation.
The Treatment Process: Techniques for Effective Use
Performing an at-home cavitation treatment requires attention to detail and proper technique. Begin by applying a generous amount of conductive gel to the treatment area. Turn on the device and select the appropriate intensity level and program for your needs. Gently press the treatment head against your skin and move it in slow, circular motions over the target area. Maintain constant contact with the skin, but avoid pressing too hard, as this can reduce the effectiveness of the treatment. Focus on one area at a time, spending about 10-15 minutes on each before moving to the next.
During the treatment, you may feel a slight warming sensation or hear a buzzing sound – this is normal and indicates that the device is working properly. After treating each area, wipe away excess gel and move on to the next zone. Some devices recommend following the cavitation treatment with a massage or lymphatic drainage technique to enhance fat elimination. Always follow the manufacturer’s guidelines for treatment duration and frequency. Most experts recommend waiting at least 72 hours between treatments on the same area to allow your body time to process and eliminate the broken-down fat cells.
Combining Cavitation with Other Techniques: Maximizing Results
While at-home cavitation machines can produce noticeable results on their own, combining them with other body sculpting techniques can significantly enhance outcomes. Many users find success by incorporating regular exercise into their routine. Cardiovascular activities and strength training help burn additional calories and tone muscles, complementing the fat reduction effects of cavitation. A balanced, nutrient-rich diet also plays a crucial role in maximizing results. Focus on consuming lean proteins, fruits, vegetables, and whole grains while limiting processed foods and excessive sugar intake.
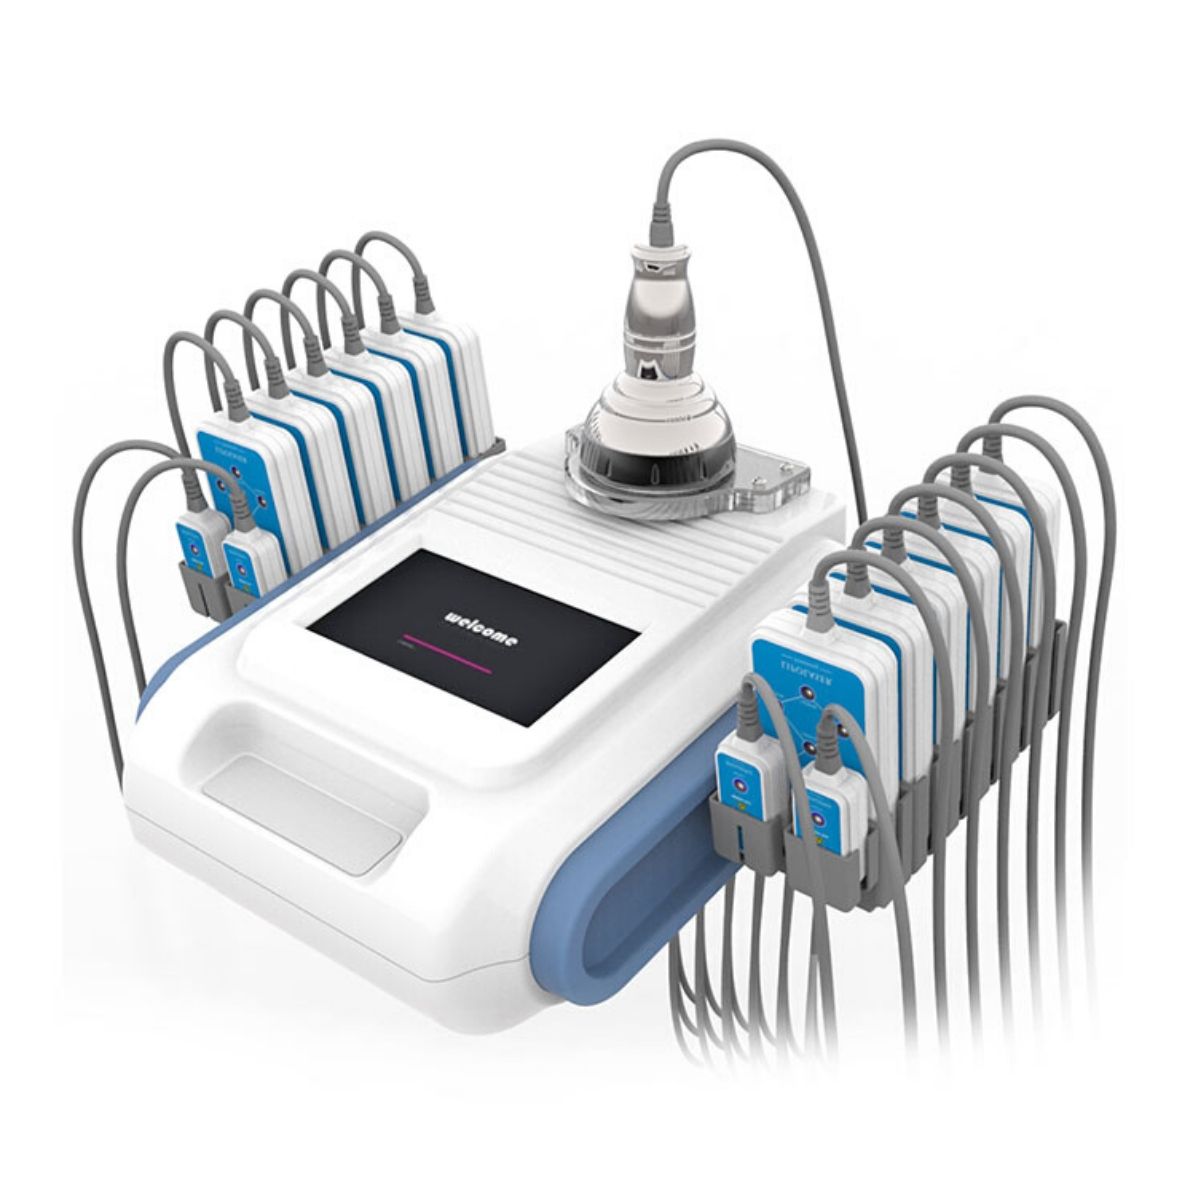
Proper hydration remains essential, as it helps flush out toxins and supports the lymphatic system in eliminating broken-down fat cells. Some users combine cavitation treatments with manual lymphatic drainage massage to further stimulate the removal of fat and toxins from the body. Additionally, wearing compression garments after treatments can help support the treated areas and potentially enhance the body contouring effect. For those seeking a more comprehensive approach, alternating cavitation sessions with other at-home treatments like radiofrequency or LED light therapy can address multiple skin and body concerns simultaneously.
Understanding Limitations and Setting Realistic Expectations
While at-home cavitation machine offer impressive body sculpting potential, it’s crucial to approach their use with realistic expectations. These devices work best for individuals who are already close to their ideal weight and looking to target specific areas of stubborn fat. They’re not designed as weight loss tools or substitutes for a healthy lifestyle. Results vary from person to person, depending on factors like age, genetics, and overall health. Most users start to see noticeable changes after 6-8 weeks of consistent use, but significant transformations may take several months.
It’s important to remember that cavitation targets subcutaneous fat, not visceral fat around organs, which requires dietary and lifestyle changes to address. Some areas of the body respond better to treatment than others, with the abdomen and thighs typically showing the most dramatic results. Users should also be aware that at-home devices generally have lower power outputs than professional machines, which means they may require more treatments to achieve similar results. Lastly, cavitation is not recommended for everyone. Pregnant women, individuals with certain medical conditions, or those with metal implants near the treatment area should consult a healthcare professional before using these devices.
Maintenance and Aftercare: Prolonging Your Results
Achieving desired results with at-home cavitation machine marks just the beginning of your body sculpting journey. Proper maintenance and aftercare play crucial roles in prolonging and enhancing your results. After each treatment, gently massage the treated areas to help distribute the broken-down fat cells and encourage lymphatic drainage. Stay well-hydrated by drinking plenty of water in the hours and days following your treatment. This helps your body flush out the disrupted fat cells more effectively.
Maintain a consistent exercise routine that includes both cardiovascular activities and strength training. Regular physical activity not only helps burn calories but also tones muscles, contributing to a more sculpted appearance. Follow a balanced, nutrient-rich diet to support your body’s natural detoxification processes and prevent the accumulation of new fat deposits. Consider incorporating lymphatic-boosting foods like citrus fruits, berries, and leafy greens into your diet. Many users find it helpful to schedule regular “maintenance” treatments even after achieving their desired results. This approach helps combat the natural aging process and lifestyle factors that can lead to new fat accumulation.
Safety Considerations and Potential Side Effects
While at-home cavitation machine generally offer a safe approach to body sculpting, users should remain aware of potential risks and side effects. Most commonly, people may experience temporary redness, mild swelling, or bruising in the treated areas. These effects typically subside within a few hours to a few days. Some users report a tingling sensation or mild discomfort during the treatment, which usually dissipates quickly. It’s crucial to follow the manufacturer’s guidelines regarding treatment duration and frequency to avoid overuse, which can lead to skin irritation or burns.
Never use the device on open wounds, recent scars, or areas with active skin conditions. Pregnant women, individuals with pacemakers, or those with certain medical conditions should avoid using cavitation machines without consulting a healthcare professional first. While rare, some people may experience temporary numbness or changes in skin texture in the treated areas. If any unusual or persistent side effects occur, discontinue use and seek medical advice. To ensure safety, always purchase devices from reputable manufacturers and avoid using them on areas not recommended for treatment, such as the face, neck, or near vital organs.